


January 25, 2023
What I Learned by Installing my Own Kitchen Floors
by Haley Holm-Pedersen

Hej! This is Haley, Stuga’s Social Media Manager. If you’ve ever sent Stuga a DM or left us a comment on Insta, we’ve probably chatted!
In 2021, my husband and I tackled installing new floors ourselves throughout our house. That is, everywhere except the kitchen. Our dark, outdated kitchen was separated by a wall with two cased openings, and we knew that we wanted to remove it eventually (we’ll take all the natural light we can get in our ranch-style house). Plus, our kitchen was next on the list for a total gut renovation. So we saved kitchen flooring for last.
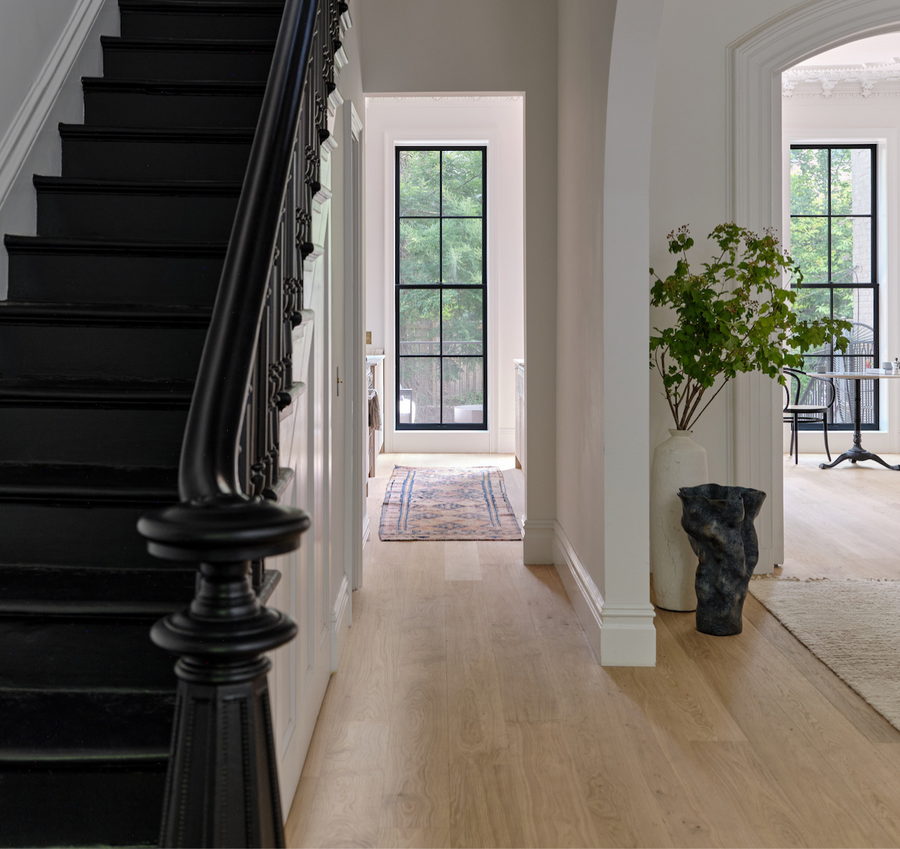
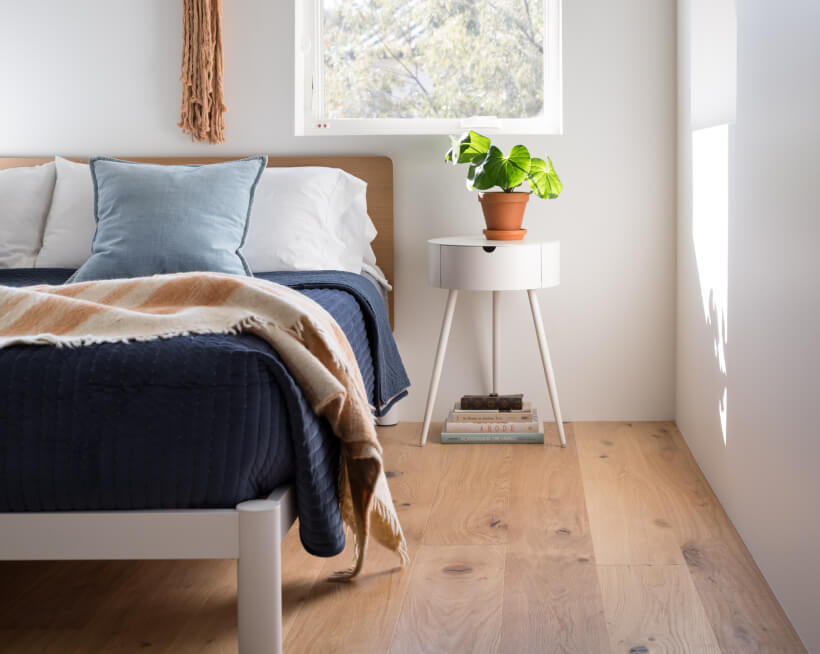
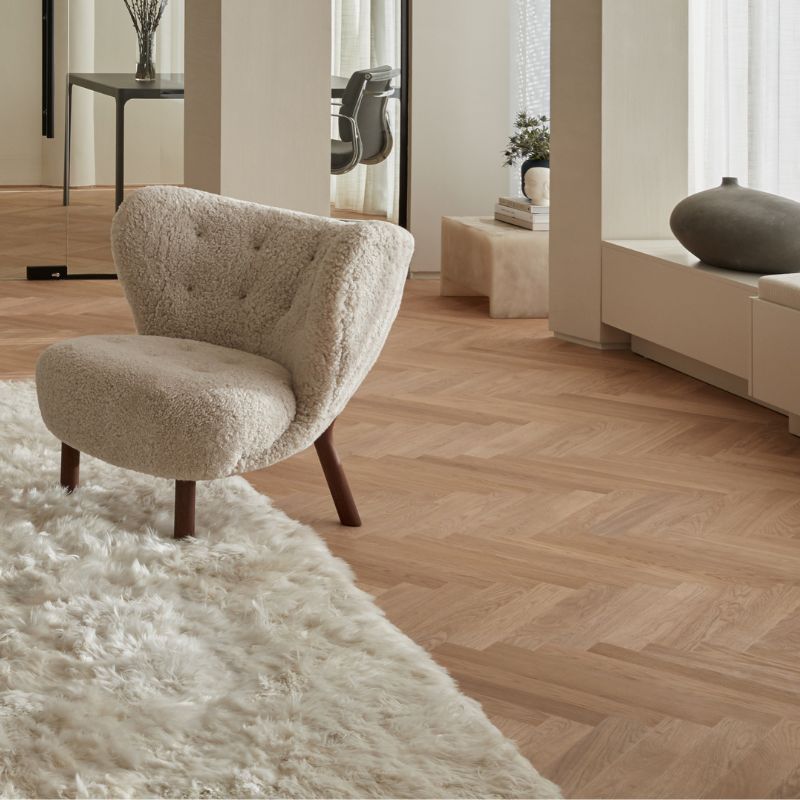
We chose Shell for our whole house - its warm tone and natural finish called to us from the beginning - and I couldn’t wait to extend it into the kitchen. Demo on the kitchen started last summer. If you were following along on our Instagram stories, you may have seen some of the installation in progress! We finally wrapped up the renovation this winter, and I’m so excited to share all the details with you.

Tile is Tough
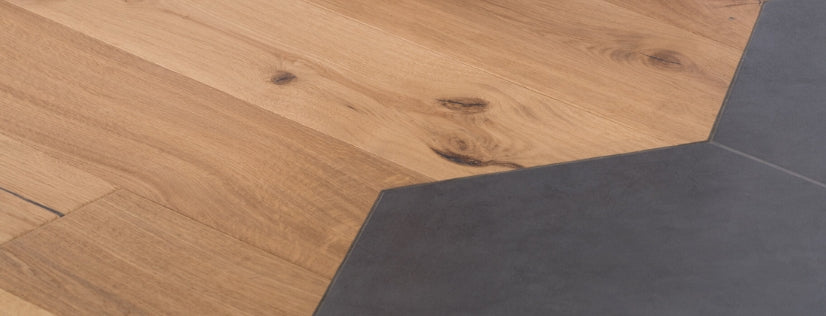
Because we wanted the height of our new floor to match our living area, we decided to rip out our tile. Technically, we could have floated Shell right over the existing tile, but the idea of a seamless transition between the spaces was too good.
I’ve removed tile from a bathroom before, but this larger space was a lot more work. If you plan to DIY your own tile removal, rent a hefty demolition hammer (the bigger it is, the more work it does for you).
Getting the mortar up was tricky. If you haven’t tried it before, demolition hammers come with an attachment for mortar specifically. The tough part is getting everything smooth. You need to get your subfloor as level as possible before laying your floors, especially when floating. Be prepared for a lot of work if you do this yourself!
Tip: Be sure to check your subfloor for levelness before beginning installation. When floating, your subfloor needs to be level within ⅛” over an 8’ radius. You can even out the subfloor with self-leveling compound or another non-compressible material.
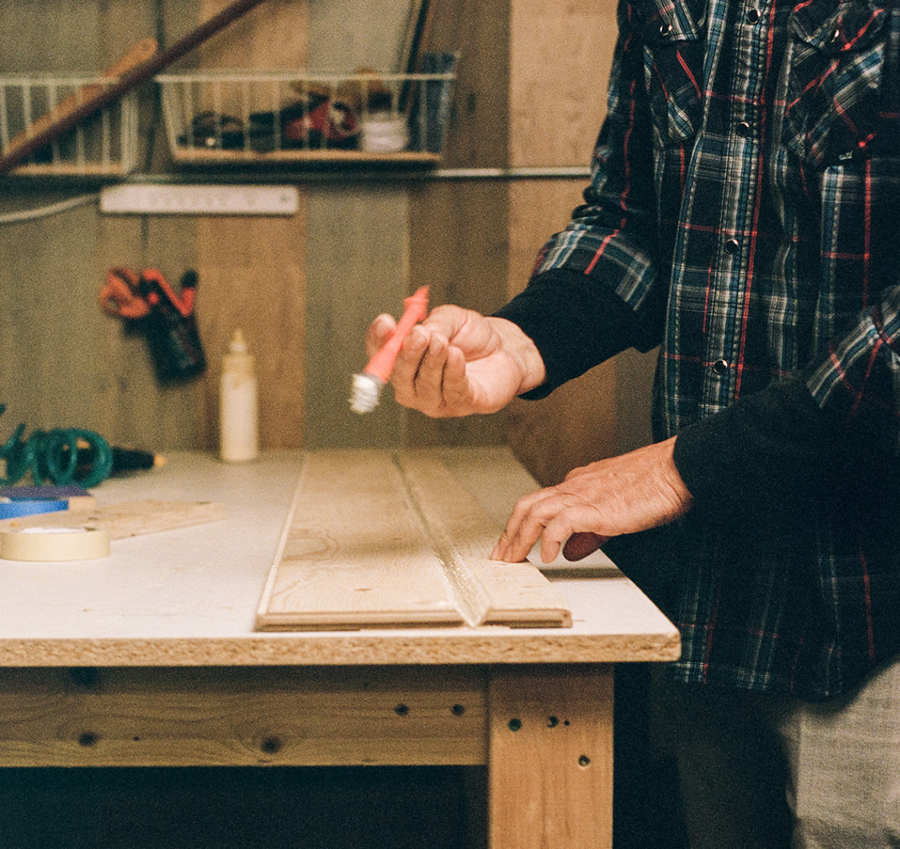
The Installation
I thought long and hard about which installation method we would use. Stapling appeals to me for its relative ease and the ability to forego transition strips for prettier treatments like header boards. But floating eventually won me over. Since we were installing over a slab foundation, we really only had the options to float or glue. Glued floors feel too hard underfoot for my preference and would take more work to install, so we went with floating.
Tip: If you’re struggling to pick the right installation method for your home, I wrote this guide just for you.
If you’re floating, here’s one huge caveat in the kitchen: Your floors cannot run underneath your cabinets. That’s because floated floors need an expansion gap that allows them to move without being “pinched” by anything. You are free to run stapled or glued floors underneath cabinets since they don’t have this requirement. We covered the expansion gap around our cabinets with shoe molding.
Floating in the kitchen was a little bit trickier than other rooms for two reasons. First, cutting around the cabinets required a lot of jigsaw cuts. With long planks like Shell, that means you’ll likely have to make sure your measurements are spot on in multiple places on the board before cutting. These cuts take the most time but were doable with our average DIY skills.
Second, running the floors underneath our appliances (yes, this is totally okay to do!) required floating backwards in some places. Again, it was definitely doable but took some time to make sure we had our measurements correct.
Why I Love Wood Floors in the Kitchen
At Stuga, we’re often asked about whether our floors can be used in the kitchen. The answer is absolutely! Wood floors won’t remain “perfect” in the kitchen. If you drop a pan, you’re likely to see a dent. And oiled floors (like Shell) may stain here or there. But we think these signs of life make a floor that much more beautiful.
Tip: Our favorite stain remover for oiled floors is this one by Woca. I use it when my dogs stain the floor with their drool, and it works like a charm!
You really can’t beat the >warmth of wood floors, visually and physically. As someone who walks barefoot just about everywhere, I am much more comfortable prepping and cooking on Shell than I ever was with our tile floors.
Cleaning is Easy
As far as cleaning goes, I actually find our Stuga floors easier to clean than tile! Our old tile showed every bit of dirt, and living on a farm, I’m finding Shell much more forgiving thanks to its heavy character. The grout of our tile got very dirty in the area near our back door, requiring scrubbing with a brush way more often than my back appreciated. Now, we vacuum once a week and clean with the Stuga dry mop and spray cleaner. The floors look great, and there are no gaps between boards to trap dirt!
Setting the Right Design Tone
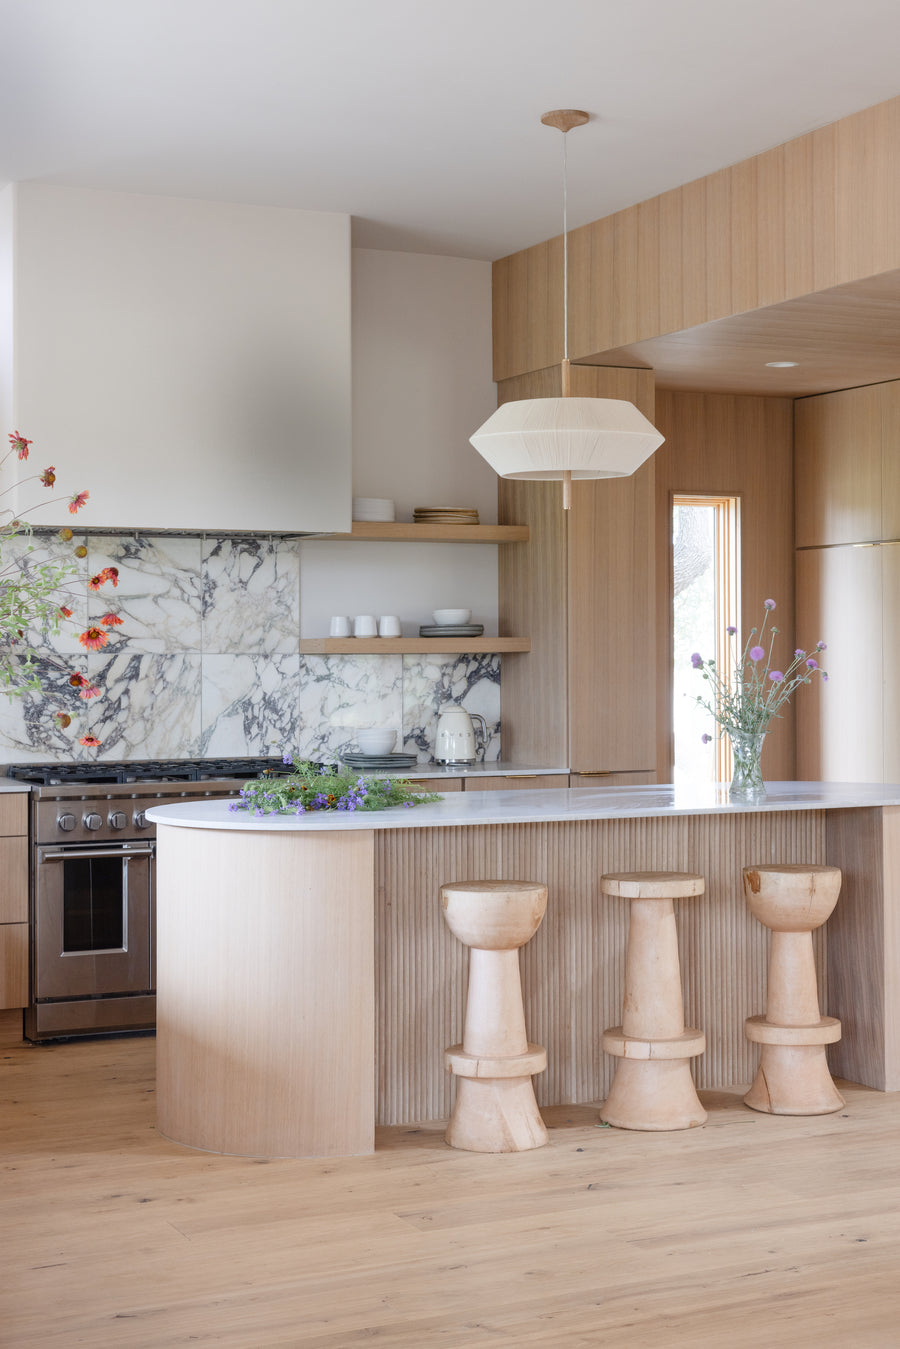
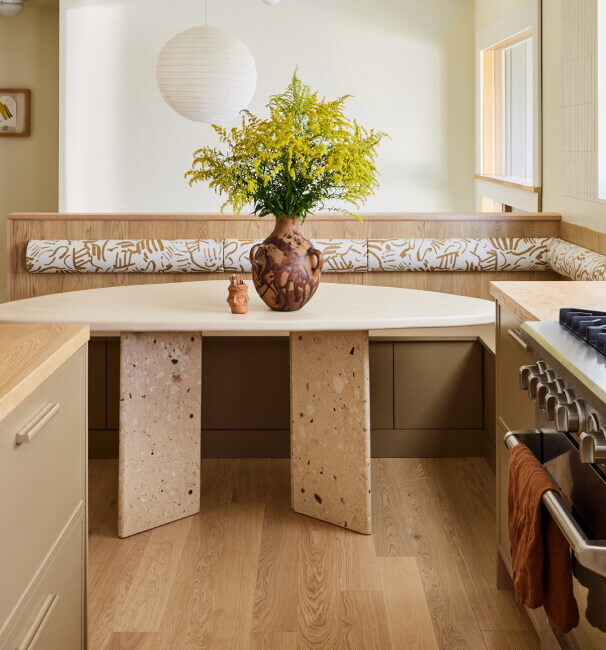
Our kitchen is fairly small, with low ceilings and little natural light. Before, it felt dark, cold, and cramped. When designing the new kitchen, I wanted to maximize the small space and achieve a more open feeling despite keeping the G-shaped layout. That’s why I picked white cabinets. But we still needed some serious warmth and personality in the space - after all, we live on a farm. Shell fit the bill perfectly. It brought just the right elevated-yet-homey vibe. And its natural character looks amazing with our soapstone counters. Both of these materials will patina beautifully with time, which is something I sought after.
I stained our white oak vent hood in Rubio Monocoat “White” to mimic Shell’s nearly natural tone, and I absolutely love them together. The Rubio Oil Plus 2C is minimal, low-sheen, and zero VOC. If you’re looking for a perfect match to Shell, I recommend experimenting with mixing their color “Natural” and something like “White” or “White 5%” to cut the honey tones in white oak.
This kitchen turned out to be a little haven in our home, thanks in large part to our beautiful floors. And knowing that we did the work ourselves makes the end result that much more satisfying.
Planning your own kitchen flooring makeover? We’re here to help. Get in touch at hej@stugastudio.com or call 1-844-MY-STUGA.