September 16, 2021
Four Ways To Create Beautiful Flooring Transitions
by Haley Holm-Pedersen
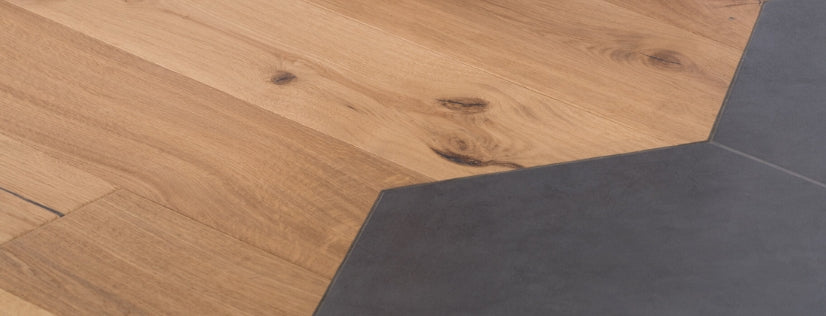
Connect wood floors to tile.
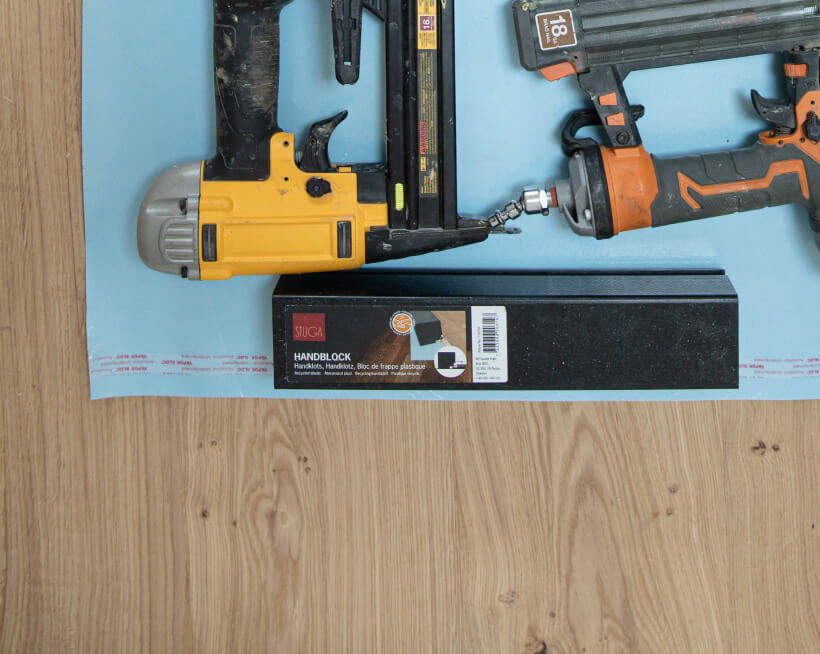
One of our favorite floor transition types is flush wood-to-tile. To achieve this, you need to make sure that both materials are the same height — that might mean building up the subfloor of the thinner material (typically the tile) to match. Your Stuga floors will need to be stapled/nailed or glued down for this method. Floating floors requires a transition strip so that they can flex underneath; they can’t be affixed directly to another material like tile. As the floors are laid at the same height, installers will typically leave a ~⅛” gap between the two, filled with grout or sanded caulk to match your tile. The end result? A beautifully seamless meeting of materials.
Add a veneer edge.
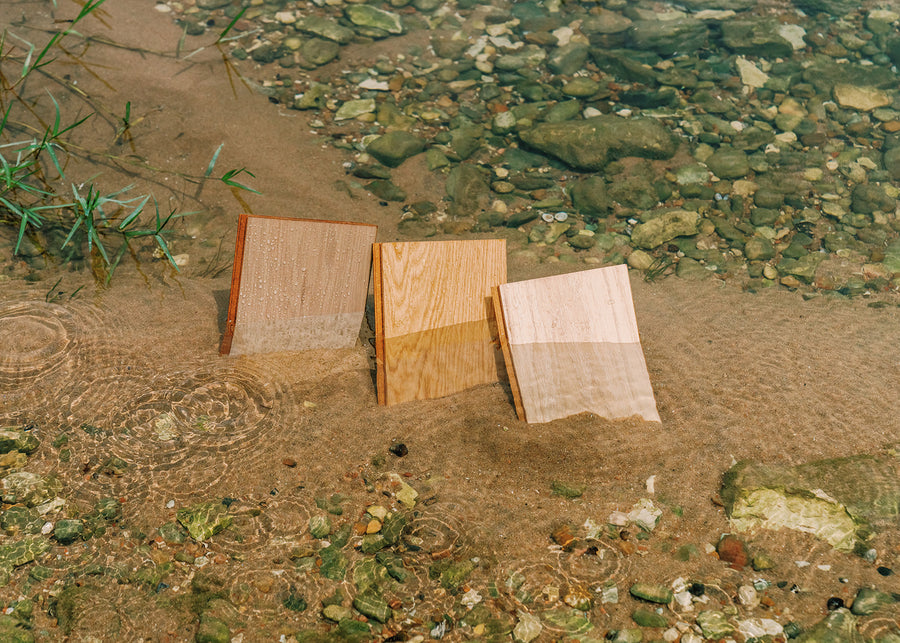
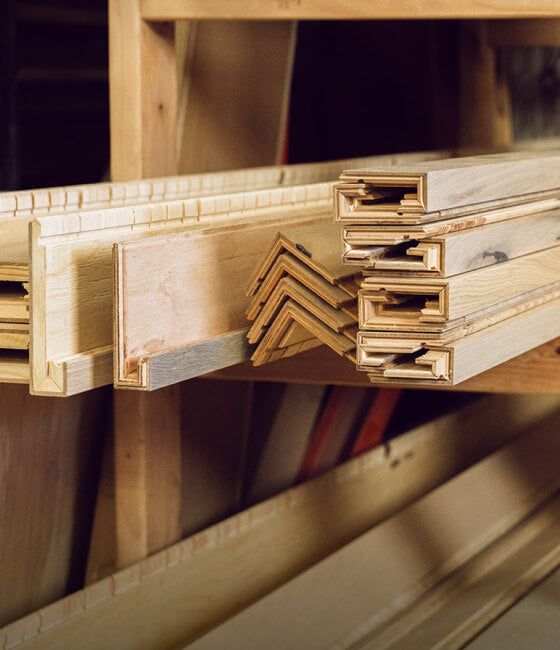
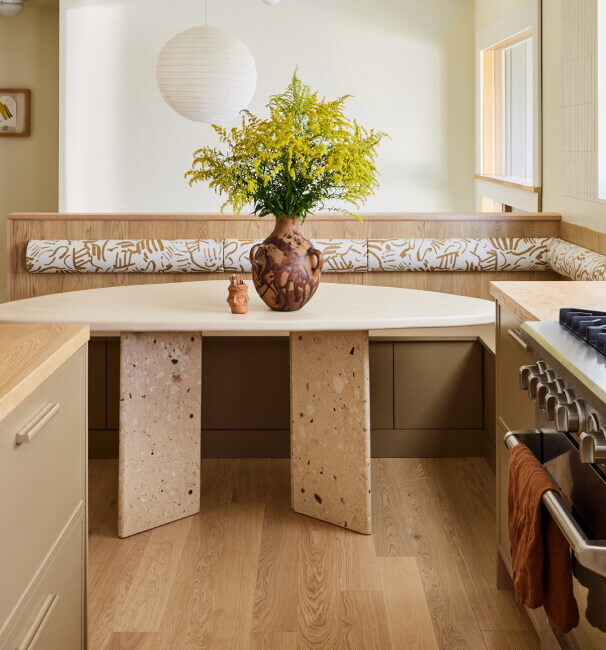
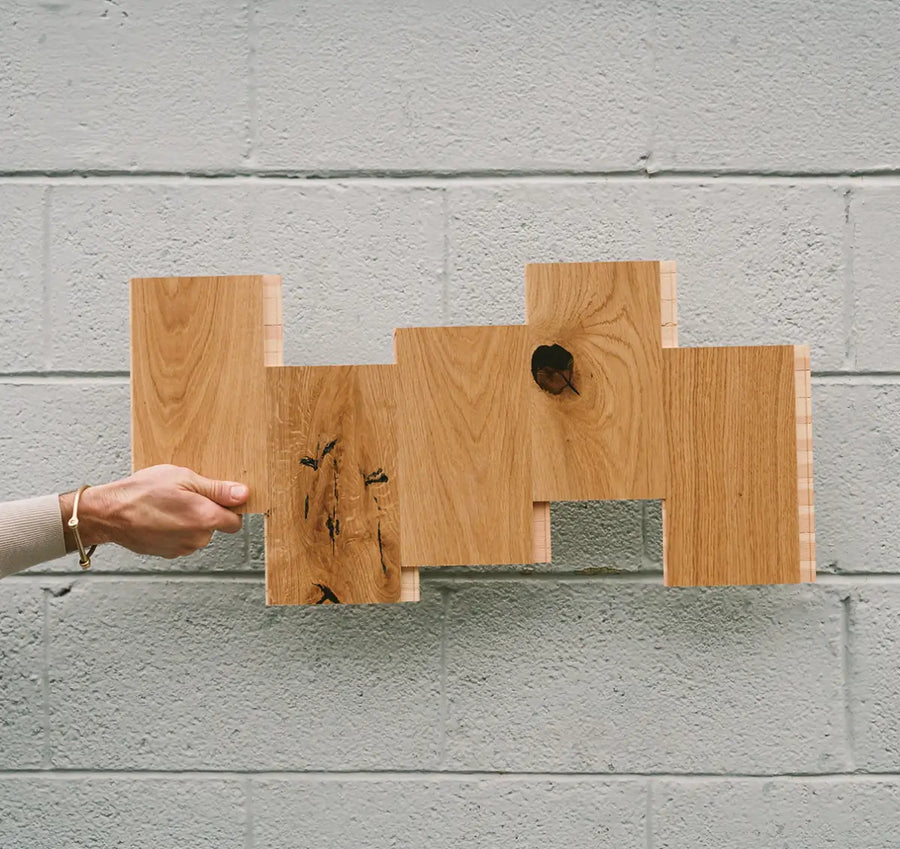
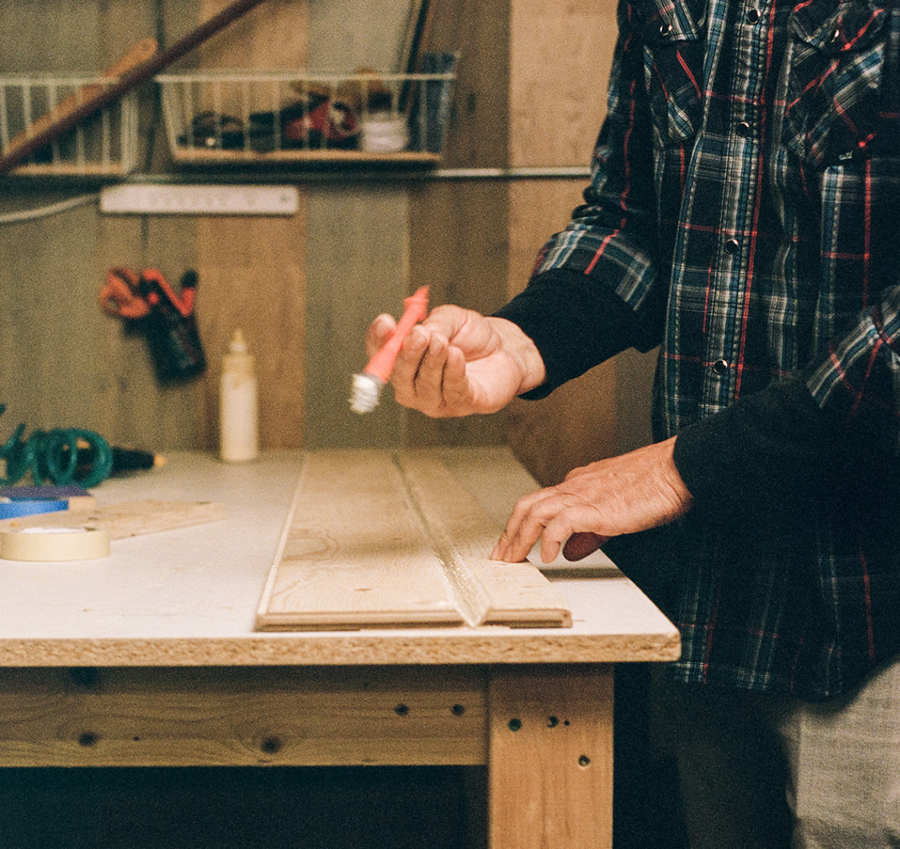
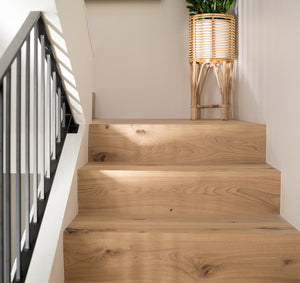
We’ve seen beautiful doors, shelves, and waterfall edges (like this one) created with our flooring, but it takes some customization. Because our floors are engineered, their profile shows the cross-section of oak, pine, and spruce layers. Mitered cuts could do the trick to cover that edge, but sometimes you need a finish that’s flat. That’s where veneers come into play. You can find white oak veneer strips at woodworking supply stores in person or online. Simply stain the veneer to match and apply it along the cross-section of your flooring — results like these make it worth the custom effort.
Follow irregular shapes.
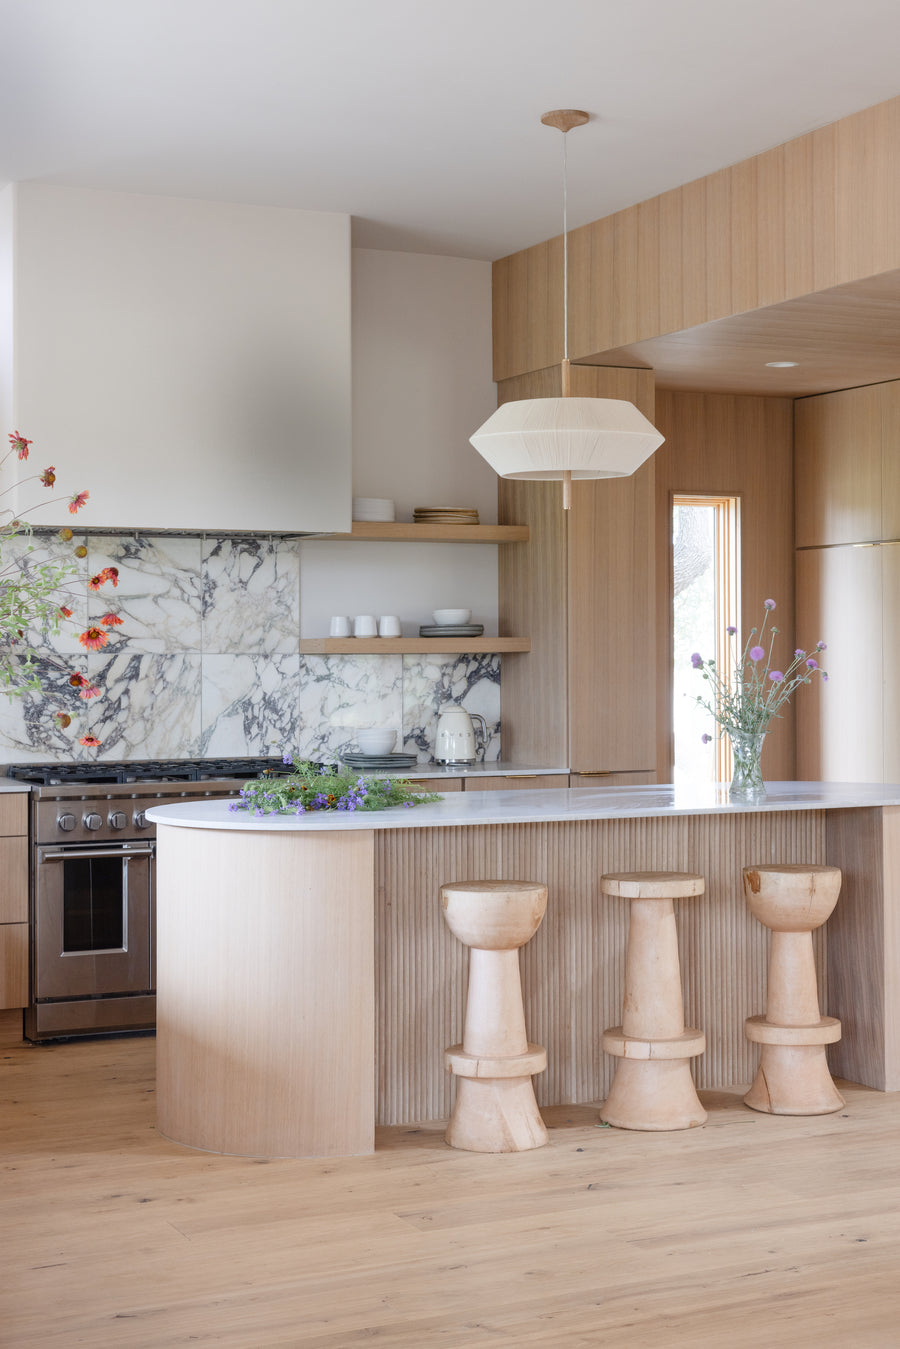
Got unusual angles or curves in your home? Follow them! This house featured a circular kitchen. Instead of running the floors the length of the room and cutting the edges to fit, the installers cut shorter boards at angles to curve around the kitchen island. The result is a space that maximizes its shape in a way that is incredibly pleasing to the eye.
Cut a header board.
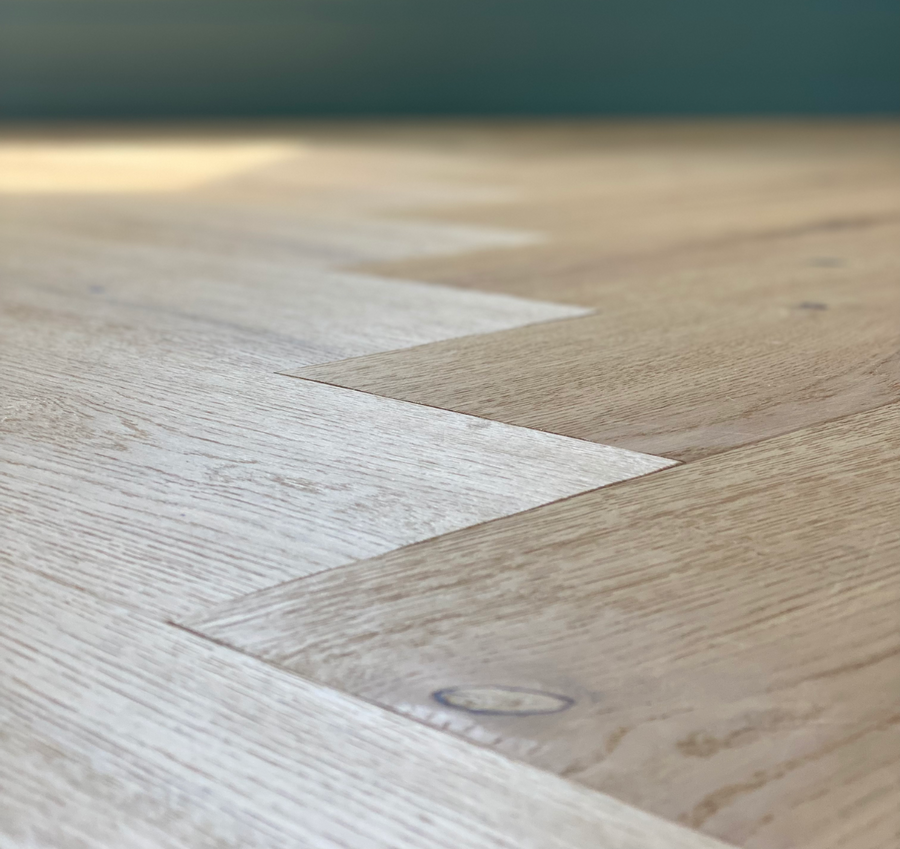
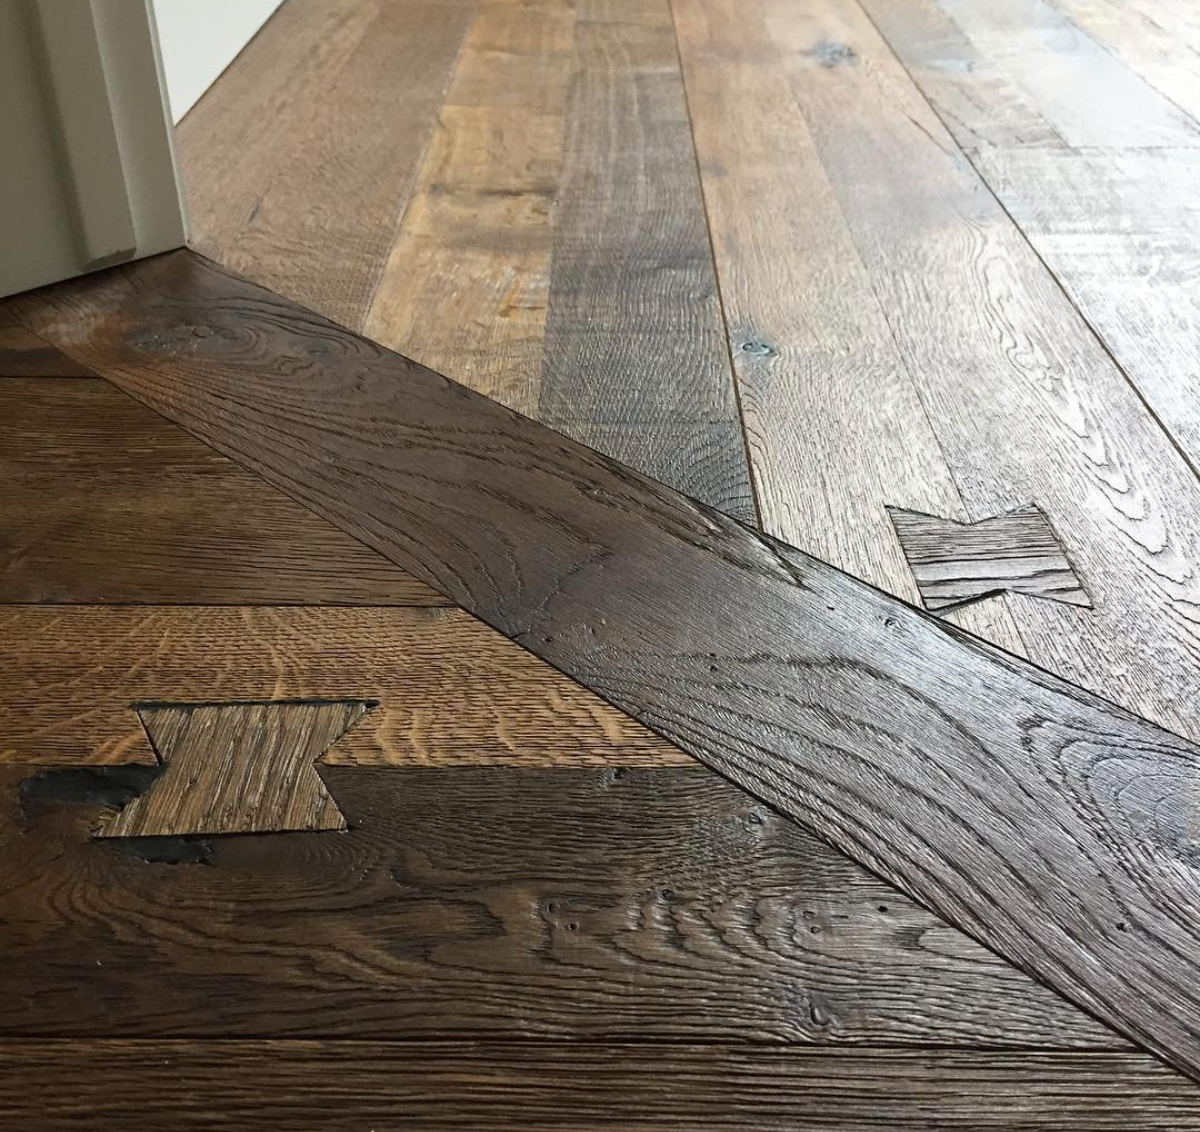
Not a fan of transition strips? Not to worry. Header boards separate spaces in a way that looks intentional and oh–so–custom. If you are gluing or stapling your floor, you can create a header board in a doorway or anywhere you need a break in the flooring. Simply rip a flooring plank down to the width that you like, and staple or glue. Since ripping the board will remove the locking mechanism or tongue-and-groove, any staples will have to go through the top of the flooring. You can touch up the holes with a bit of wood putty. Then sit back and admire the beauty.
