


Installation guides & tips
Float. Staple. Glue. DIY. No acclimation. Our versatile floors are wonderfully easy to work with no matter the application.

Great floors, even better install options
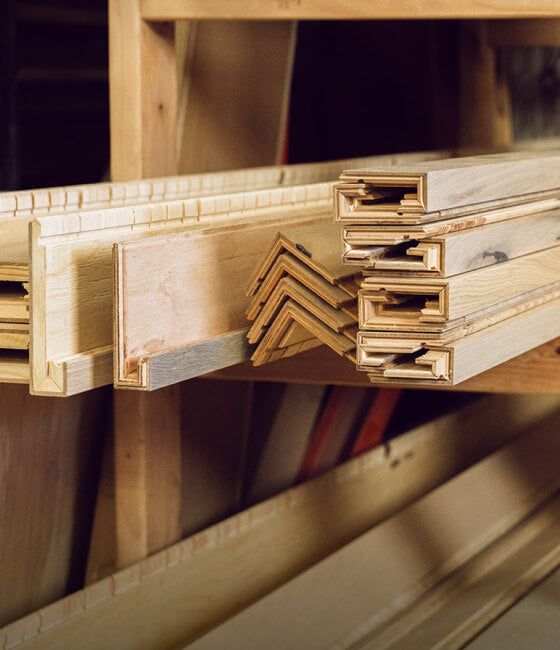
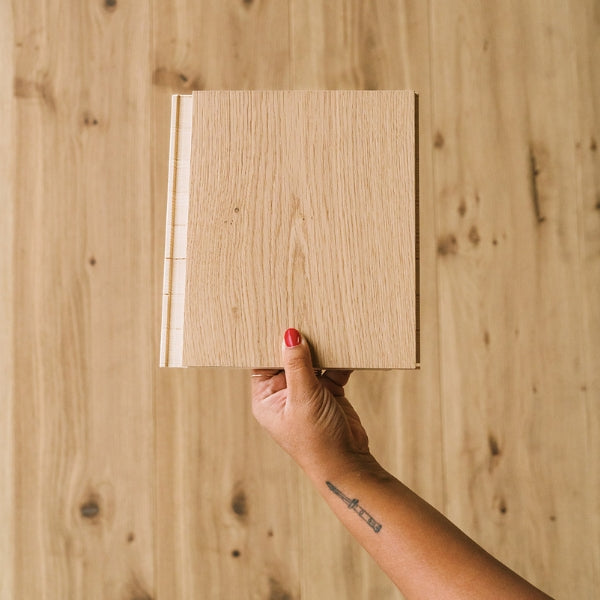
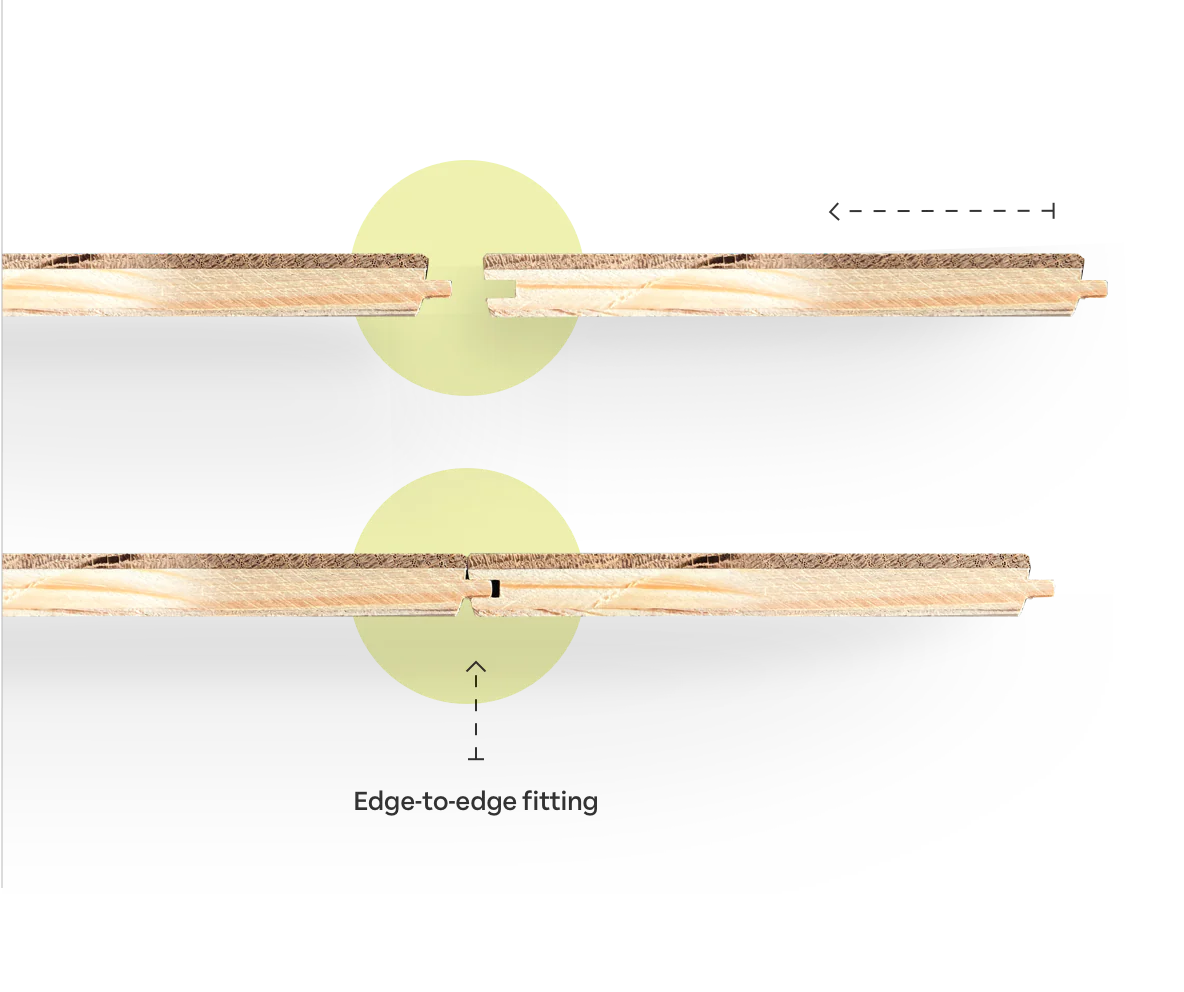
Tongue & groove
The industry standard for decades. These floors are easy to install in a multitude of applications. The only Stuga floor that is tongue & groove is Archipelago.
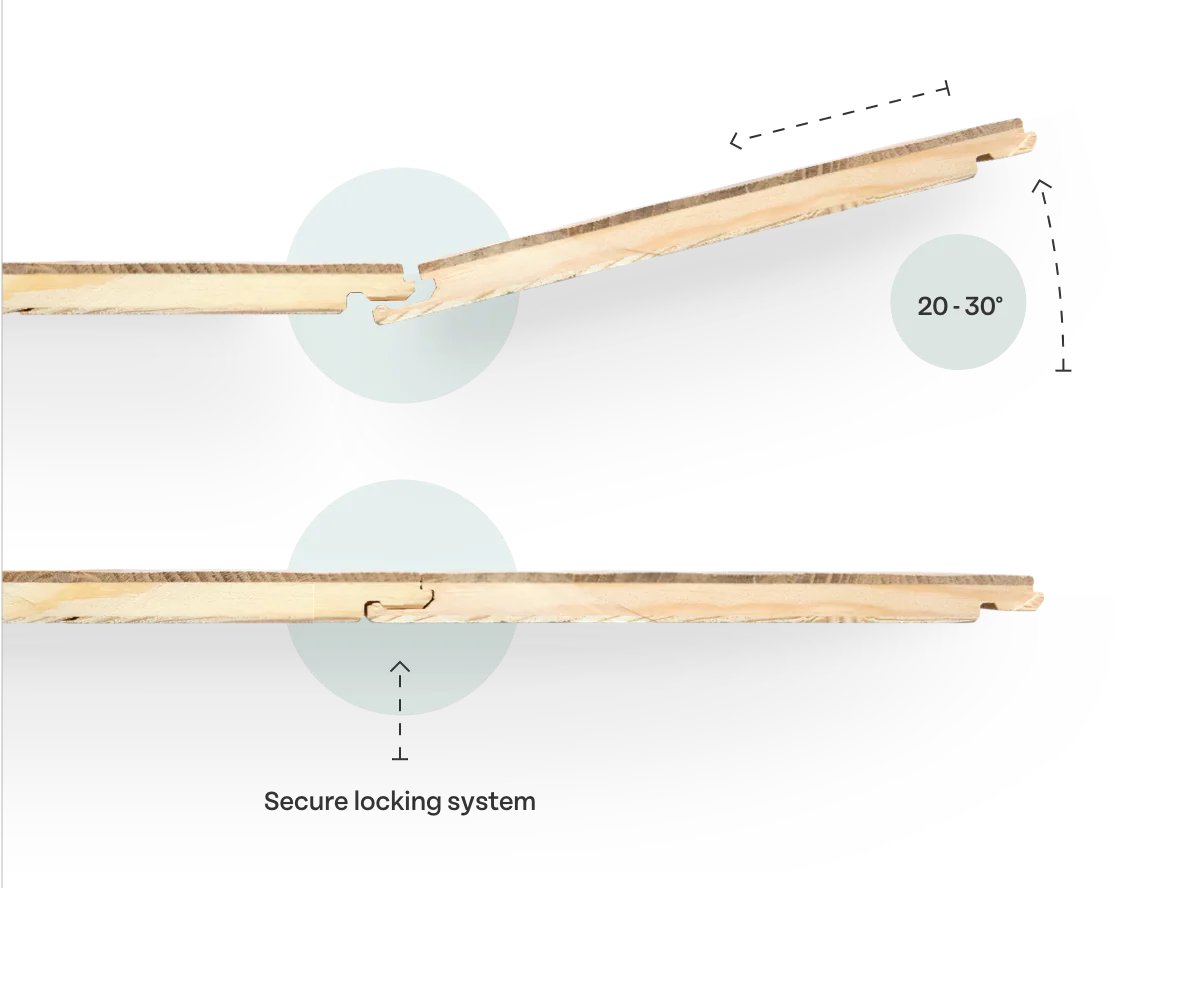
Locking system
Our product's locking system minimizes seasonal gapping between planks. Each board is placed into the adjacent at a 20-30° angle, then pushed down into its final position. These planks can be installed by floating, stapling, or gluing.
How our locking pins work
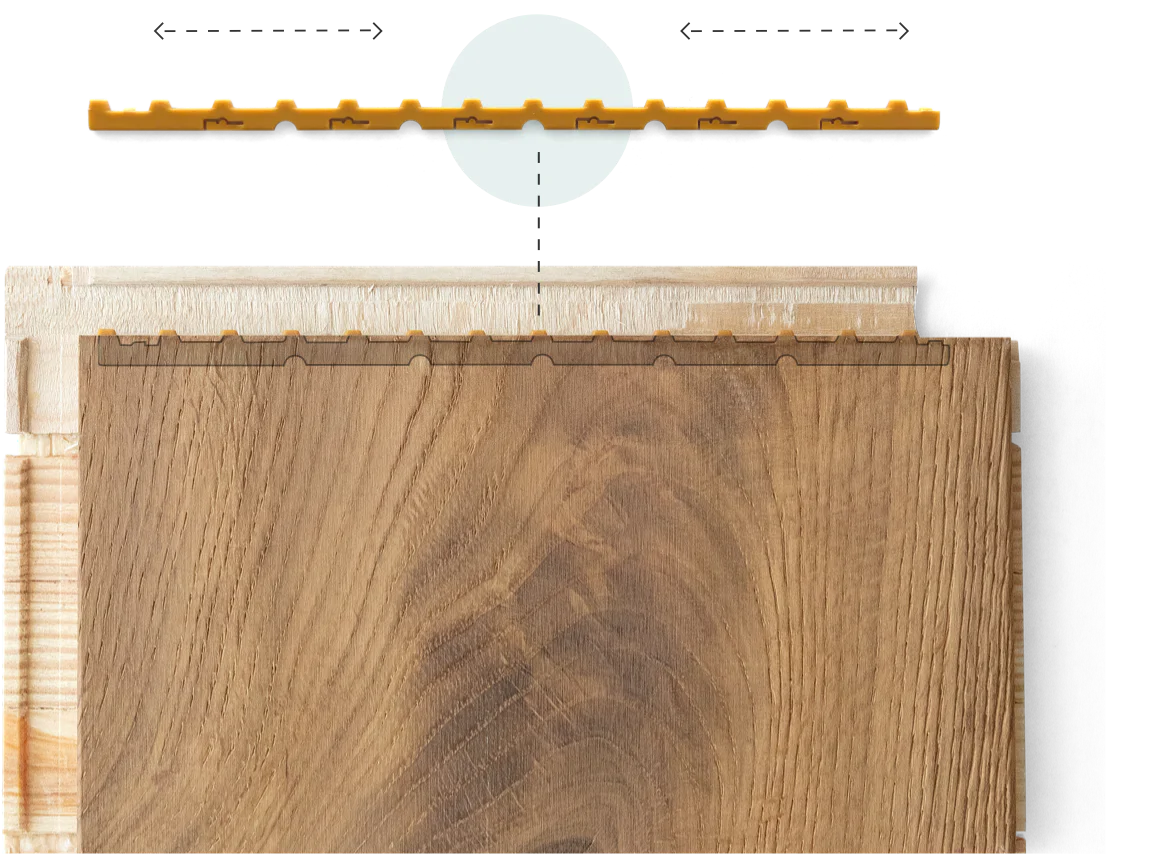
5S sliding locking pin
Some of our products include sliding, board-end locking pins to ensure they never move up and down or side to side. Once your board has been installed, you can use a locking tool or tapping block (provided by us) to slide the pin into place.
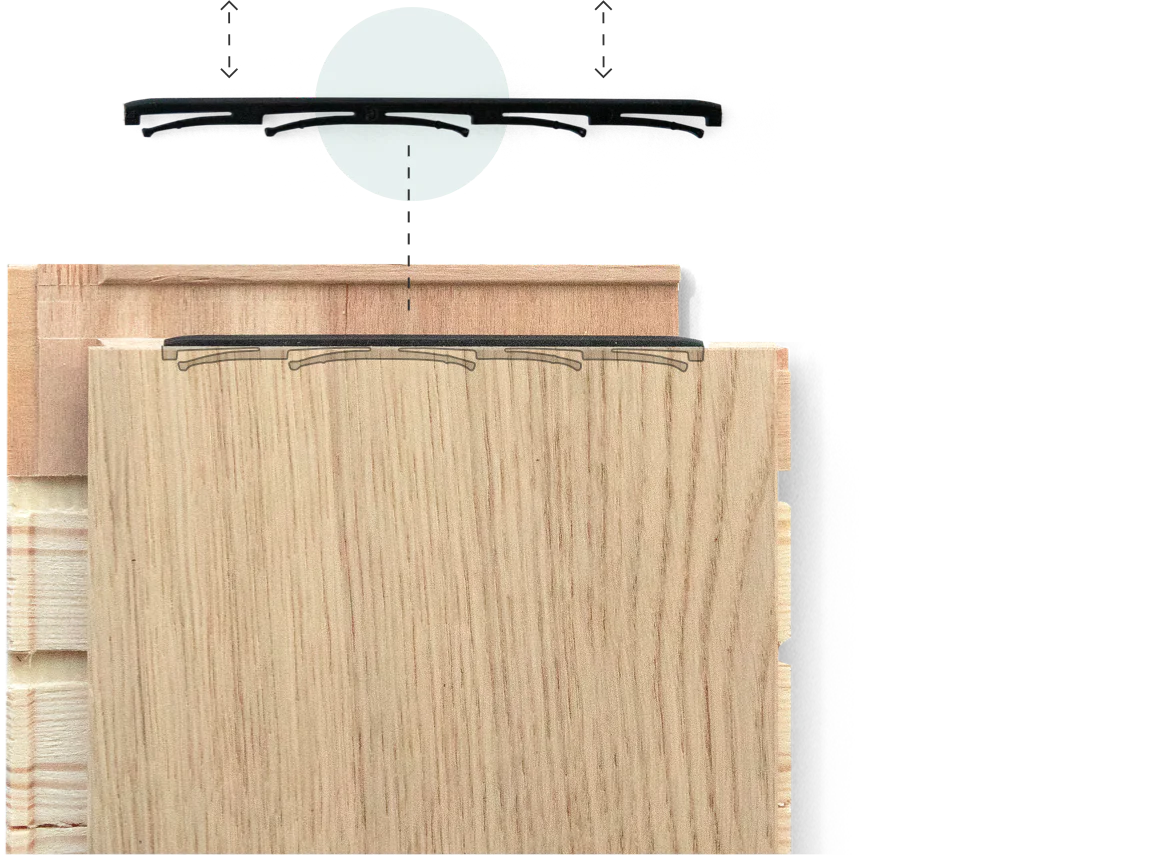
Compression locking pin
Many of our products come with a board-end compression locking pin. Once your board is lined up on the long side, simply push down on the board to lock it into place. You will hear a "click" sound as the pin compresses into the board and snaps back out, locking the ends together.
Installation Methods
Float
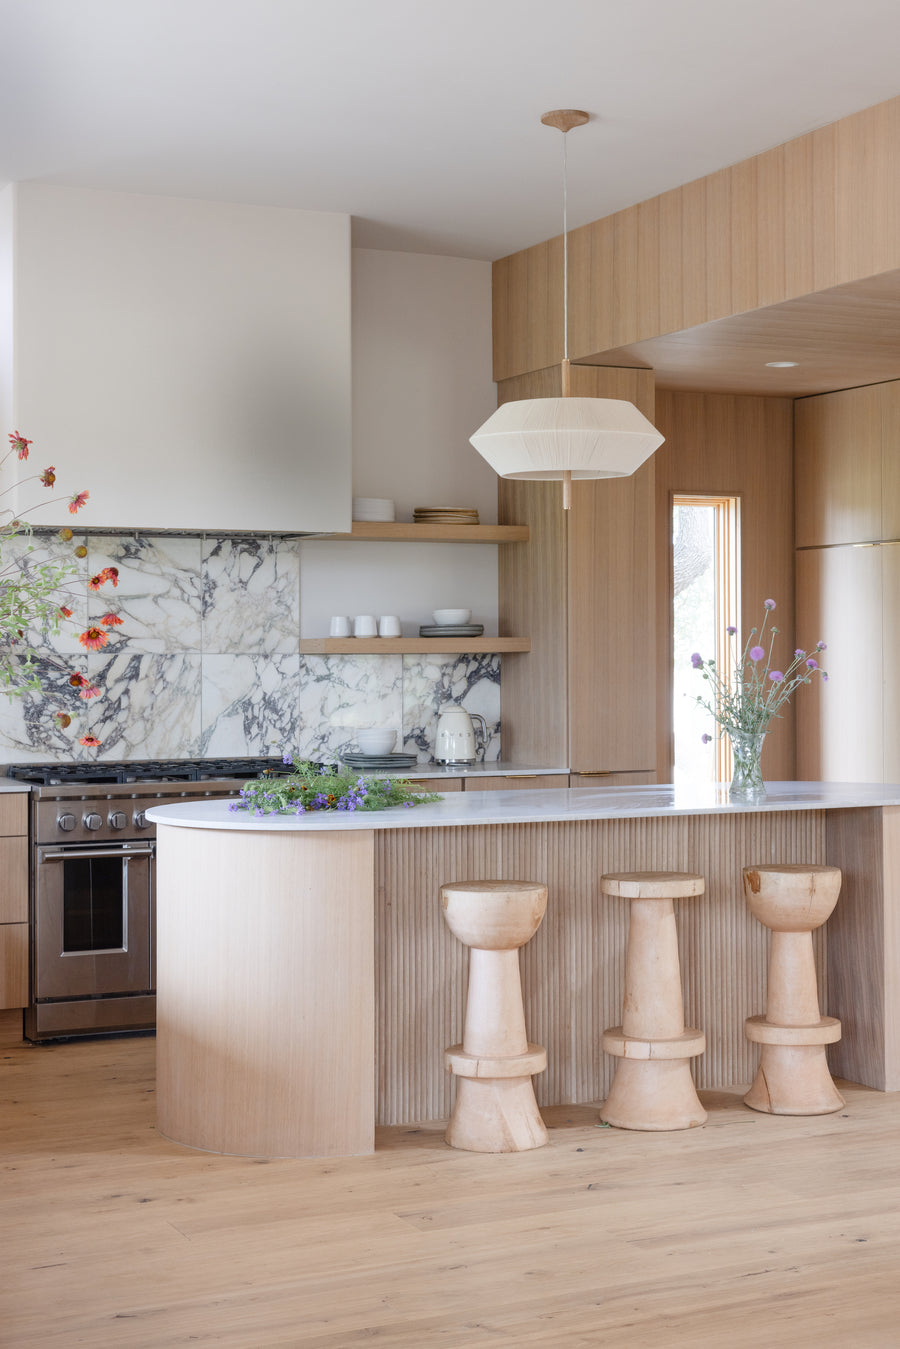
Often used in simpler installations that require few transitions to other flooring materials, this is the ultimate Scandi way to install our innovative locking floors. You can float on any level of your home, including basements.
You will need
- Tapping Block
- 5S Locking Pin Tool (depending on the floor)
- Nature All-in-One Underlayment
Staple/Nail
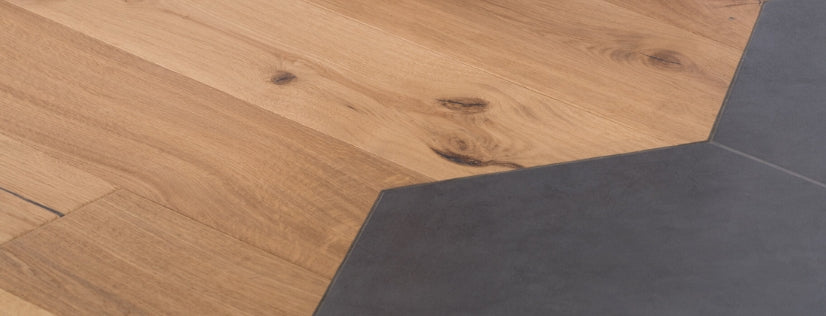
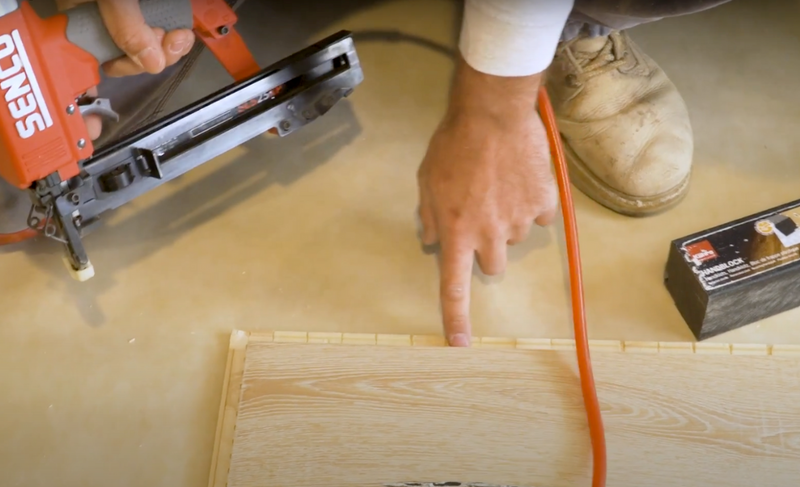
Preferred by most contractors, stapling or nailing is ideal for creating seamless transitions throughout your home. Our locking floors can be stapled horizontally using an 18-gauge gun with 1/4" crown staples every 6-8 inches. Our tongue & groove floors can be nailed using a traditional angled nailer. Easy peasy.
You will need
- 18 gauge staple gun (locking floors)
- 1.25-1.5" x 1/4" crown staples (locking floors)
- Angled nailer (tongue & groove floors)
- Tapping block
- 5S Locking Pin Tool (depending on the floor)
- Nature All-in-One Underlayment is recommended
Glue
Bring your artistic vision to life by gluing down your floors. We recommend low or no-VOC glues with a built-in vapor barrier like Bona R851 (installed over a roll on moisture membrane Bona R540) or Bostik Greenforce.
You will need
- Tapping block
- 5S Locking Pin Tool (depending on the floor)
- Bona R851 (installed over a roll on moisture membrane Bona R540) or Bostik Greenforce recommended
Flooring install videos
How the sliding locking system works
How to clean your floor
How to oil your floor
How to staple down your flooring
Staple down install with Chris Loves Julia
How to lay underlayment
How to remove the locking system
How to change directions when stapling
Compression Pin Tips
Stair install videos
How to install flush nosings

How to install square nosings
How to measure for Stuga stair parts