


December 02, 2021
Checklist: How to Prep for DIY Installation
by Haley Holm-Pedersen
Hej! This is Haley, Stuga’s Social Media Manager. If you've ever sent us a DM on Insta, we may have chatted!
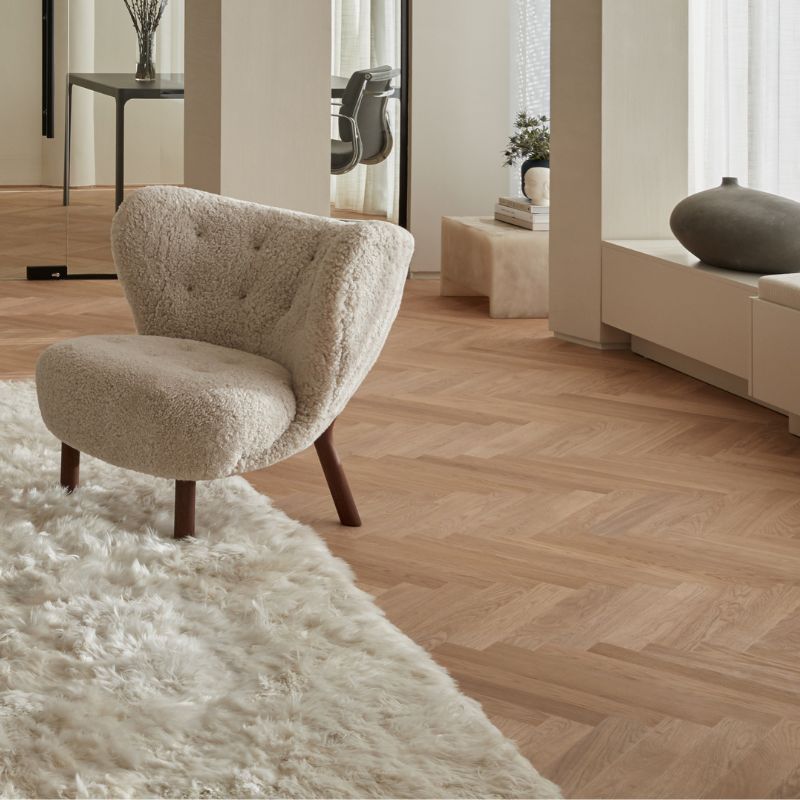
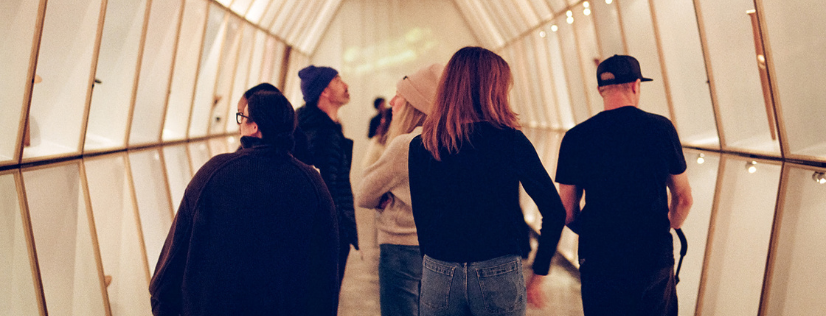
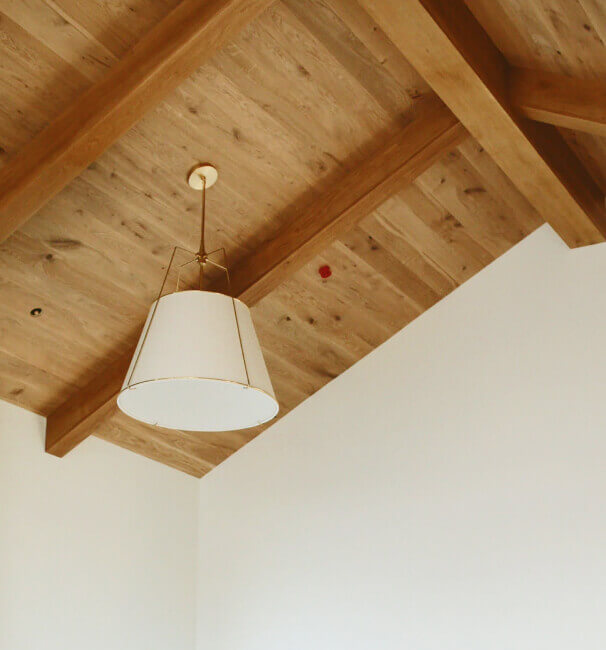
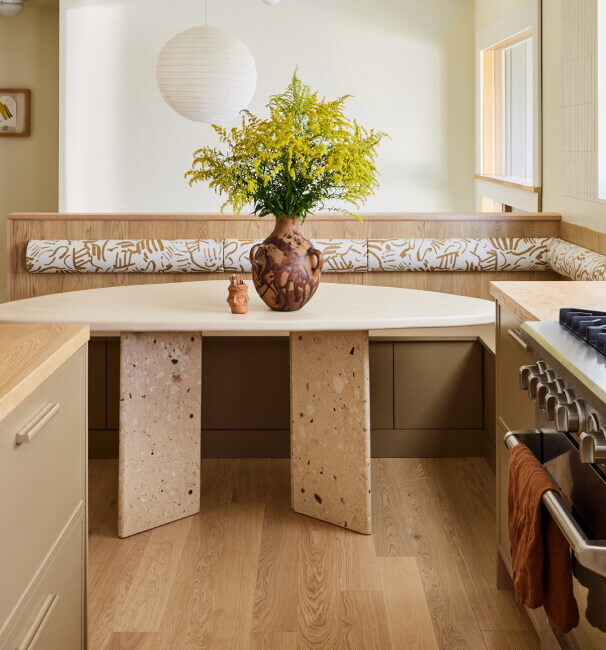
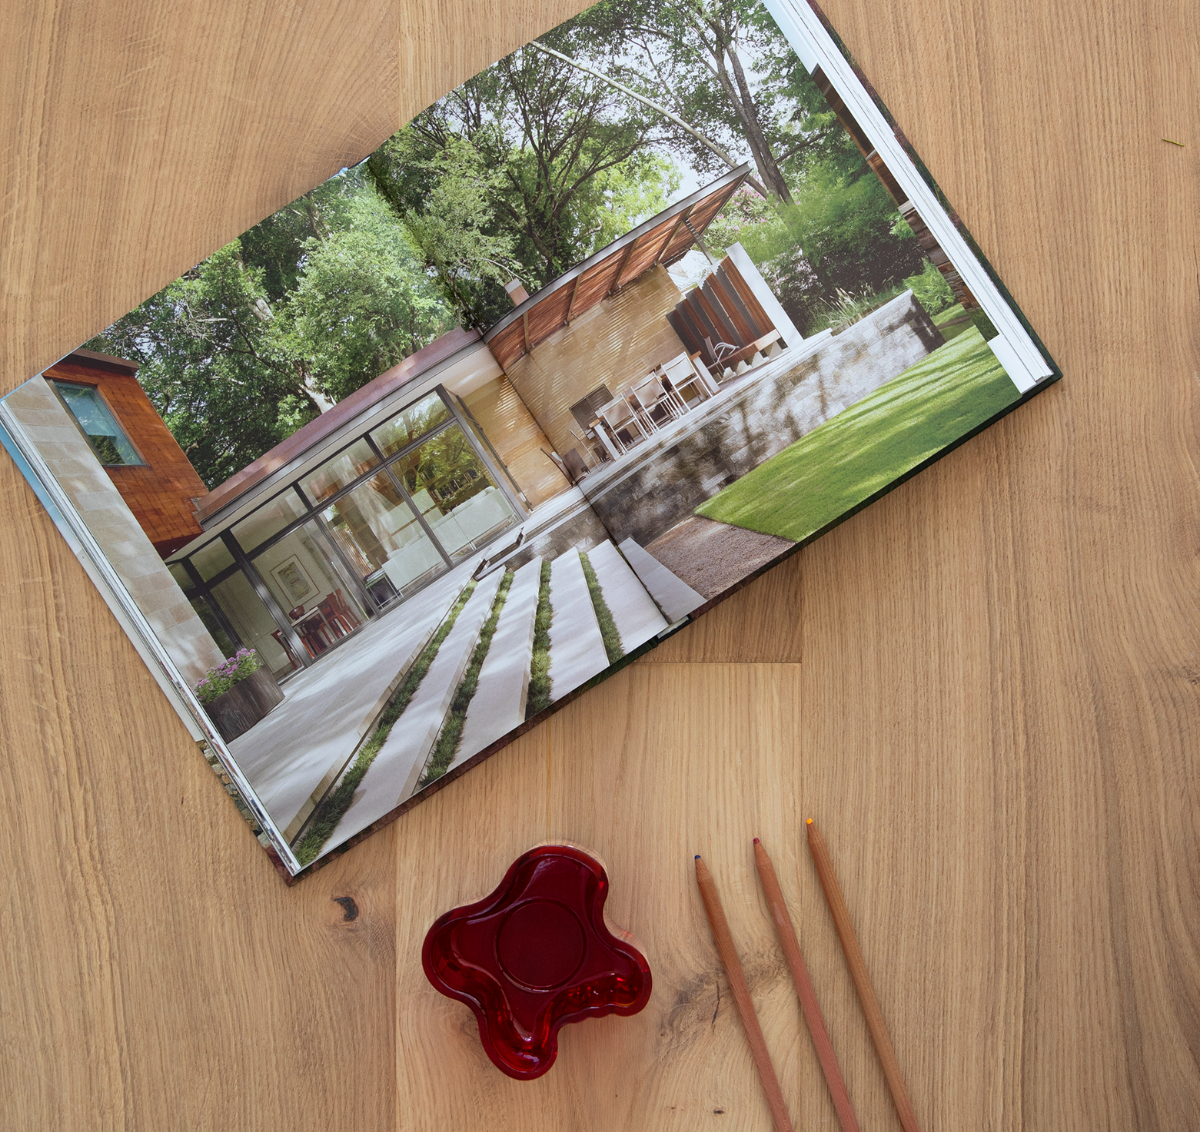
A few weeks ago, I installed about 1600 square feet of Shell in my home. My husband and I have a little DIY experience; we tackled a gut remodel on one of our bathrooms this summer, so we figured we could handle installing Stuga floors.
For the most part, we were right! Working with the Stuga locking system is seriously easy, especially in big, rectangular rooms like the living room. And it is so satisfying to look at how much the floors have transformed our house and say, “we did this”.
Where I wish we’d done things differently is in planning our DIY hardwood flooring installation. Here’s what I learned about preparing for engineered wood flooring installation that I think everyone should know.
Set a generous schedule
To be honest, we rushed our install a bit. I don’t think the reality hit me that we would be moving almost all of our belongings before we could even start installation. That takes time and lots of energy!
I also didn’t realize how much time the demo would take. I’d heard that removing carpet tacks was tedious, but wow, that’s no joke! If you can, I recommend dedicating a full day or two (depending on the size of your space) to removing your old flooring. We lucked out in that our old laminate flooring was floated, but if your existing flooring is stapled or glued, it will take longer.
Underestimate your storage
Looking back on the experience, I’m laughing at myself for ever questioning if we could move all of our belongings into the kitchen (which will get Shell floors later, once we renovate it) and garage. There’s no way! We rented a pod for extra storage and needed every square foot of that space for our furniture.
I suggest renting a pod/storage unit, finding a friend with extra space, whatever you have to do - but be realistic about how much space you really need.
Measure twice, cut once
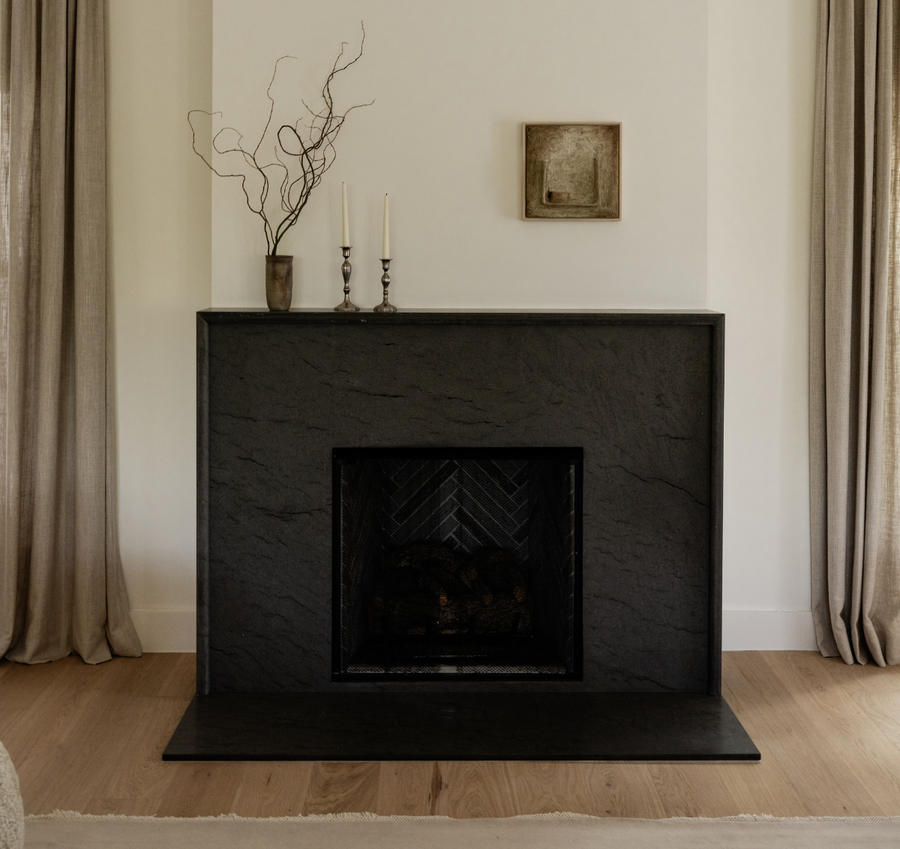
As a Stuga employee, I’ve absorbed lots of amazing installation info from our partners and my coworkers. Yet still, I overlooked something really important to me - undercutting my fireplace hearth.
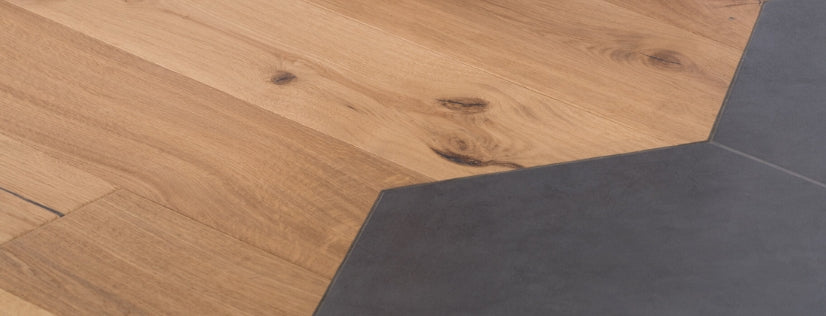
Our previous flooring was about ¼” shorter than Shell, so while the other flooring tucked beautifully under the fireplace hearth, Shell would not fit. If I had thought ahead on this, we would have taken the time to undercut the hearth that extra ¼”. We ended up cutting around the fireplace and will add trim to cover the expansion gap later. Little details like this are easy to miss when you’re planning a big flooring install, but taking the time to measure and prep properly ahead of time will make your finished floor look more custom.
Wondering how to undercut?
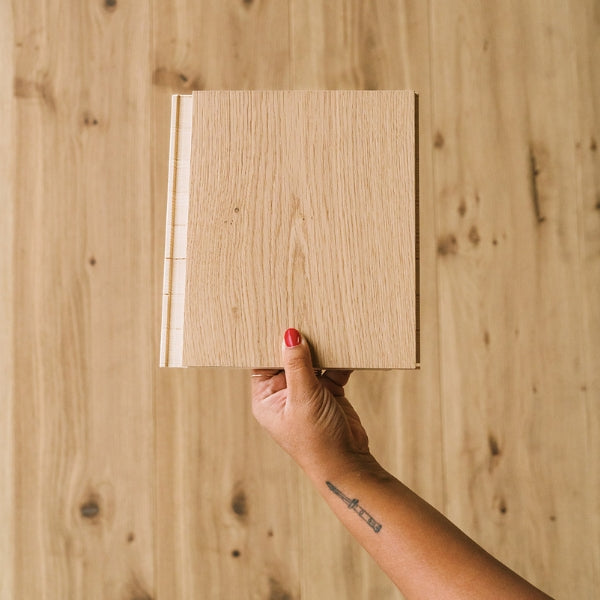
Using your Stuga sample and a piece of underlayment (or cardboard of the same thickness if you don’t have underlayment yet), measure from your subfloor up and trim the door frame, hearths, etc. at that level. Taking care of this pre-install will save you a lot of brain energy when it comes time to install your new floor. If you’re floating the floor, make sure it has enough space to not be “pinched” by the object you’re cutting.
Another tip: Make sure you order the right transition pieces if you’re floating your floor. I ordered t-molds for the transitions to tile in my house, but I actually needed overlap reducers since the tile is ⅛” shorter than Shell. Our team can always help you with understanding the differences - just call or email us.
Gather your tools
Prior to installation, take inventory of what tools and supplies you have and what you’ll need. You can download my list here!
We ended up making a few extra hardware store trips for better knee pads (you really want good support) and extra wood shims for proper expansion gaps.
If you don’t have all the tools you need, often your local hardware store can rent them to you. Don’t be afraid to ask for their opinions, too - my hardware store’s rental department was accommodating when I needed demolition tools for my bathroom tile. The right tools can make your job faster and much easier on your body.
Install and enjoy!
If you have some general DIY skills under your belt, you can absolutely install your own Stuga floors. I had heard it before, but it’s so clear now - DIY quality is good quality. The locking system made our lives so much easier with this install; and fitting the boards together was, dare I say, fun?
If you have the ability, DIY’ing your install is satisfying and can save a chunk of money that you’d otherwise pay to a pro. But if DIY wood floor installation is outside of your comfort zone or not physically available to you, don’t worry - any installer can work with our floors. Check out our network of preferred installers, or search the NWFA database for installers in your area.