


January 12, 2024
Walnut Flooring Gave My Bathroom the Drama it Needed
by Haley Holm-Pedersen
Hej! This is Haley, Stuga’s Director of Growth Marketing. You may have read my previous posts about installing Shell – check out the latest one here.
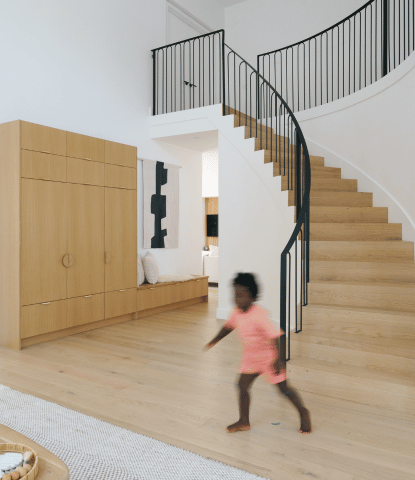
Last year, I tackled what might be my biggest DIY project yet – my home’s main bathroom. My husband and I are no strangers to DIYs. We installed our Shell flooring throughout our whole house in previous years, for instance. The bathroom was a tricky design challenge, which is why we left it for (almost) last.
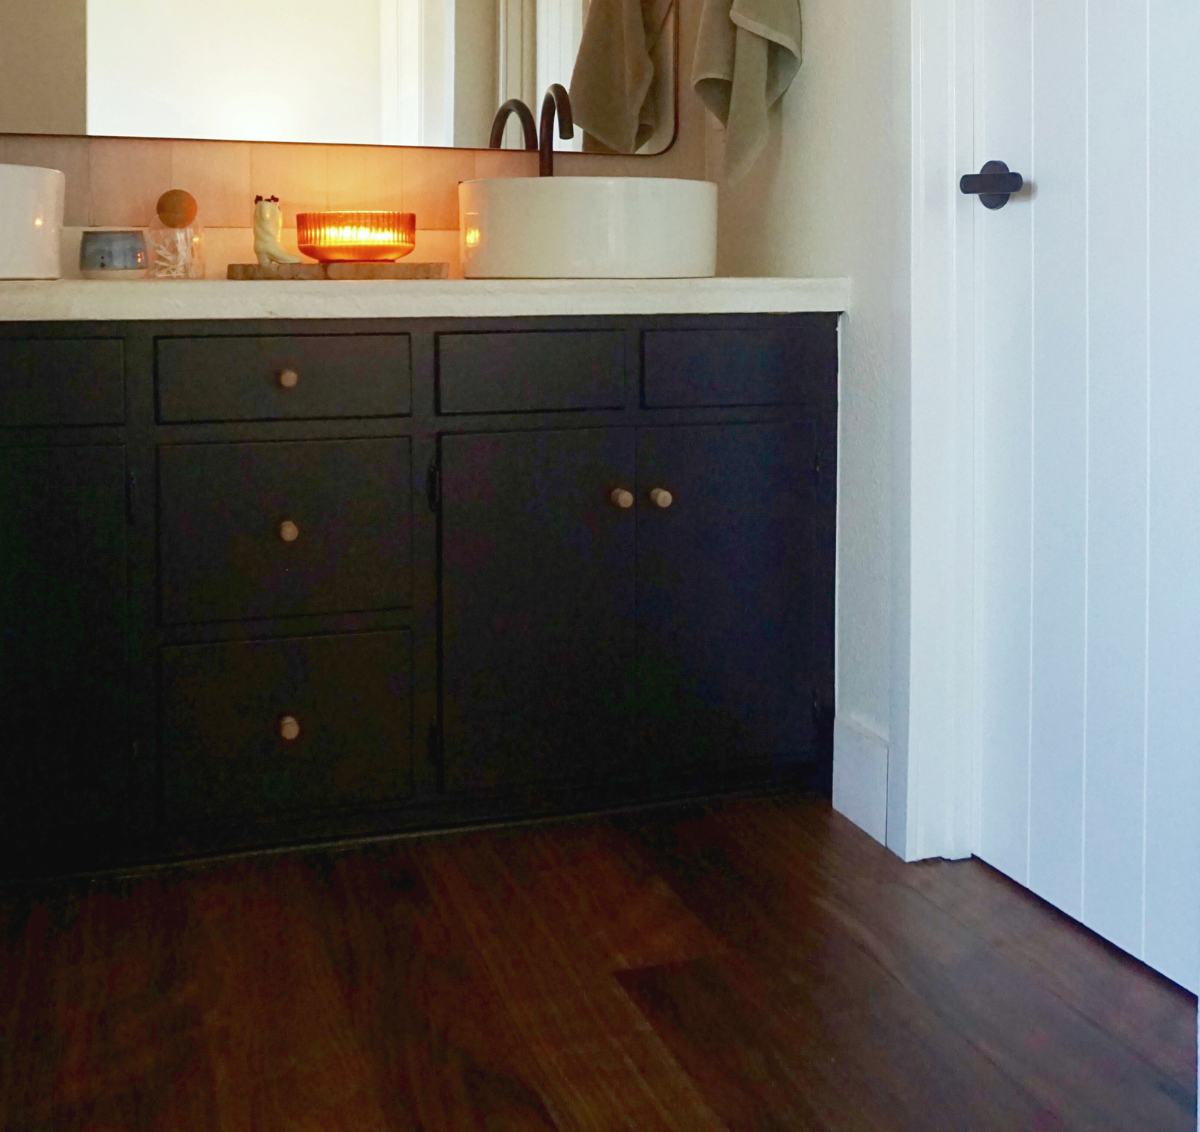
If I could describe this bathroom in three words, they’d have to be: dated, dark, and tiny. Our house was built in 1980, and the bathroom was mostly original. The previous owners had added some faux shiplap, painted, and swapped out hardware, but left the laminate counters and shell sinks intact. The whole room felt bland, didn’t function well, and needed HELP.
To my dismay, previous owners had also painted the floor and shower tiles, and paint was chipping off left and right. I tried to remove paint with scrapers and heat guns, but found that the floor tile beneath was different shades of faux marble. It had to go.

The Design Plan
Originally, I had big plans for this bathroom. Think removing walls, floor-to-ceiling tile, and a gorgeous walnut vanity. But at the end of extensive renovations throughout the house, we were tired of living through (and paying for) major construction.
By the time this project came around, I decided to shoot for a few criteria: 1) An easy, low-lift renovation that 2) cost $10k or less and 3) would be good enough to last the next owners for a while.
I love to take inspiration from nature, and decided to loosely base the design around redwood forests. I wanted something that embraced the darkness of the space. Tucked-away-in-a-forest felt like the perfect vibe.

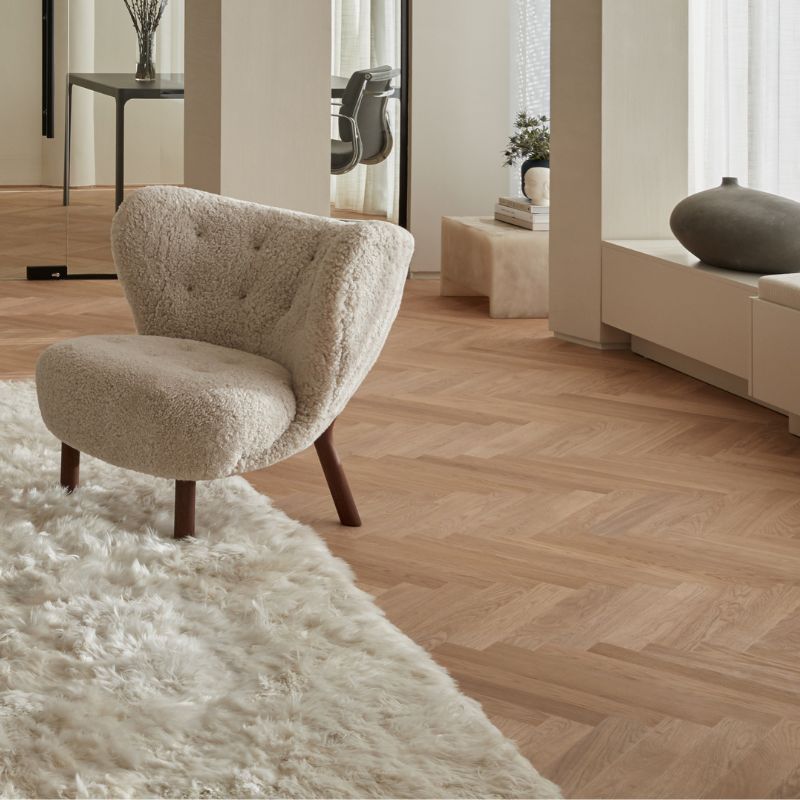
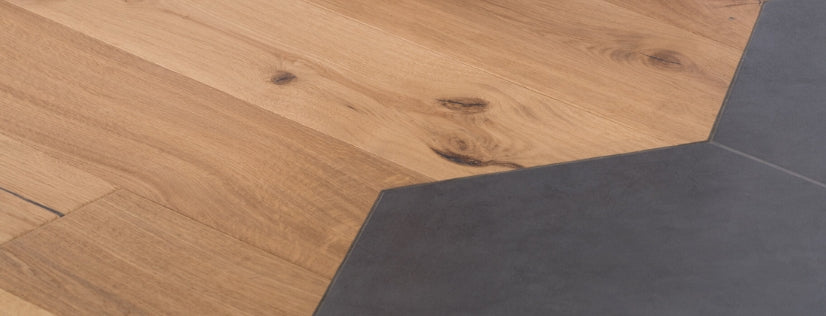
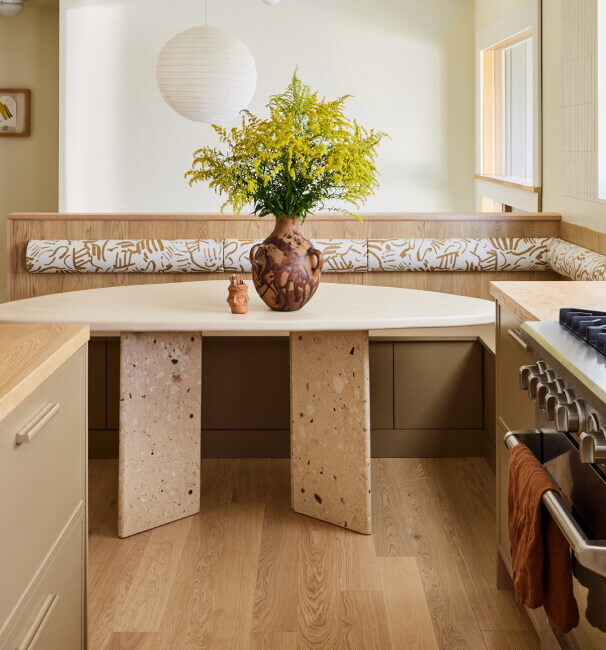
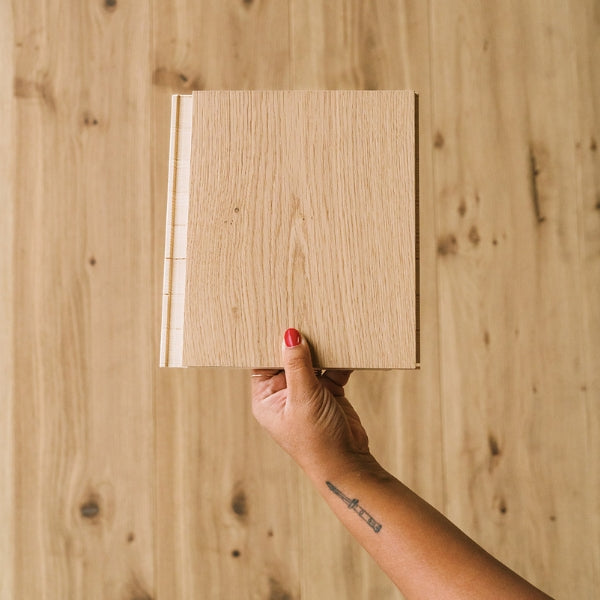
Our new walnut flooring, Zig Zag, was an obvious choice. It adds warmth and depth, feels amazing underfoot, and has enough water resistance to withstand the humidity of a main bath. Plus, it can be installed over existing tile! Having removed tile in our guest bath and kitchen, I was eager to never do it again.
I paired Zig Zag with a tadelakt plaster to cover the counters and shower walls, some sage accents, darker cabinet paint, and more wood to bring my redwood vision to life.
The Installation
I knew that good prep goes a long way in any kind of DIY. Here’s how I got the space ready for new flooring:
- Removed as much paint as I could from the existing tile
- Smoothed out uneven areas with a self-leveling compound
- Removed baseboards (since I wanted to replace them)
- Undercut the door trim so the new flooring would fit snugly underneath
I wasn’t too picky about glue, and used a flooring adhesive that I found locally. If you’re looking for something higher quality, we recommend Bona R851 or Bostik Greenforce. Both are low VOC and have moisture barriers built in to protect your floor.
Granted, I work for a flooring company and have a lot of knowledge around the process, but I’m still amazed at how easy the installation was. By myself, the whole process took about half a day.
Since Zig Zag is a veneer product – thinner than our more traditional engineered hardwoods – it’s lightweight and easy to maneuver solo. I made sure to mix up the boards, since the color naturally varies from dark brown to lighter, caramel tones. Then, I got busy gluing and weighing down each row.
Side note: I chose to have our new toilet installed prior to the new flooring. If you do the same, make sure that the toilet flange is at the correct height to allow your new flooring to run underneath for a clean look. Otherwise, you’ll need to be skilled enough with a jigsaw to cut out the shape of the toilet base from the flooring.
I tackled the tadelakt plaster work myself, used some leftover Stuga planks to cover the old shiplap wall (I used a color we no longer carry – Astrid would be a great alternative), worked with my husband to cover our louvered door with vertical paneling, swapped the light fixtures, and then hired professional plumbers and painters for the rest.

The Result
The verdict? I love how it all came together. The space feels infinitely better, like it has an identity. We ended up well under the $10k budget, coming in around $6k (most of which was labor costs for the plumbers and painters).
Zig Zag, and walnut in general, has won my heart. It injects warmth and moodiness in the best way possible. Six months later, it is still holding up perfectly to humid showers and wet feet. It's easy to clean, and has no gaps to trap dirt thanks to its locking system. I’m hooked on using it to cover tile, and will be doing it again in our laundry room, pantry, and powder bath.