


July 07, 2025
The Compression Locking Pin: What It Is & How It Works
by Haley Holm-Pedersen
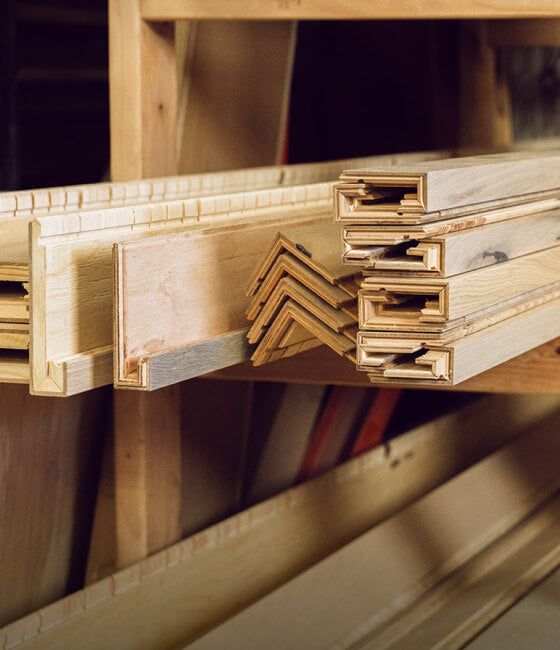
At Stuga, nearly all* of our floors feature locking systems. Our locking systems are made from extra core material that stretches around the edges of your floor. They’re invisible once installed, but they do a lot behind the scenes to improve the performance of your floors.
This clever design makes installation a breeze for DIYers and pros alike. It also significantly minimizes seasonal gapping between planks. Contrary to popular opinion, these floors are not exclusively designed for floating installations. Most of our floors can be floated, stapled, or glued — in fact, many of the custom builders and high-end flooring installers that we work with prefer to staple or glue. You can learn all about the differences in installation methods here.
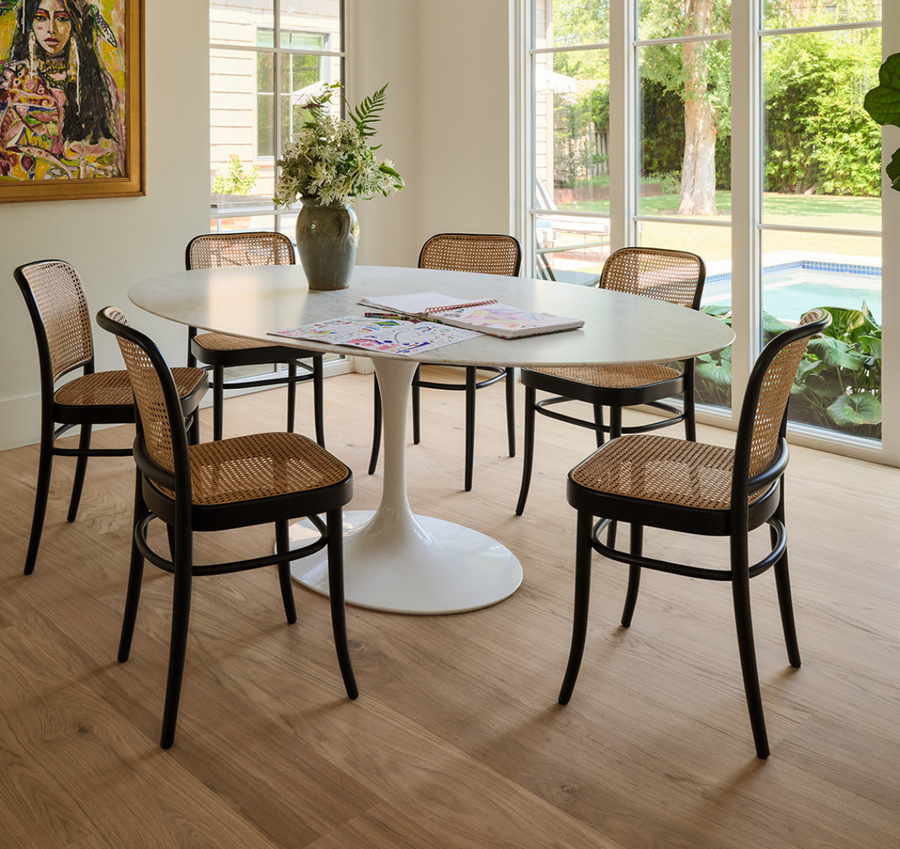
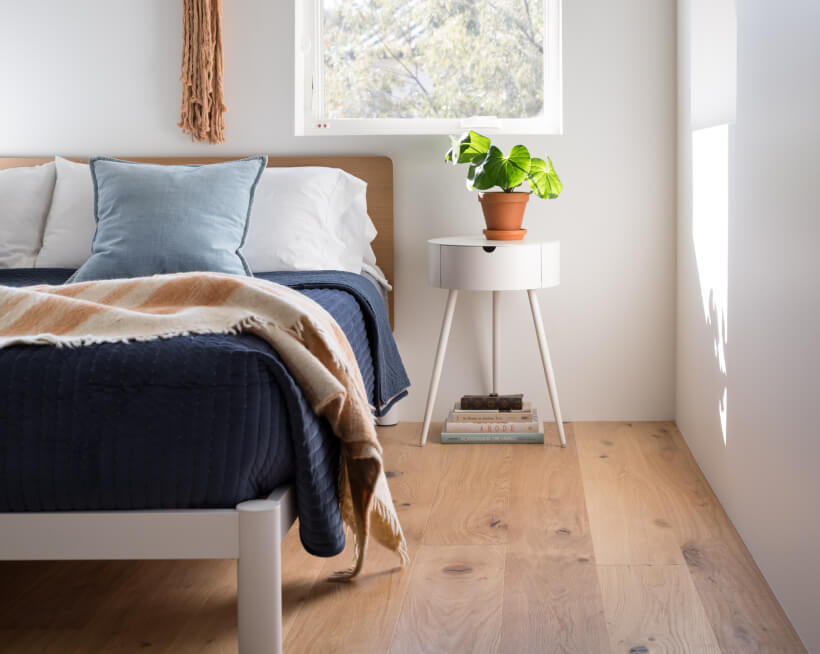
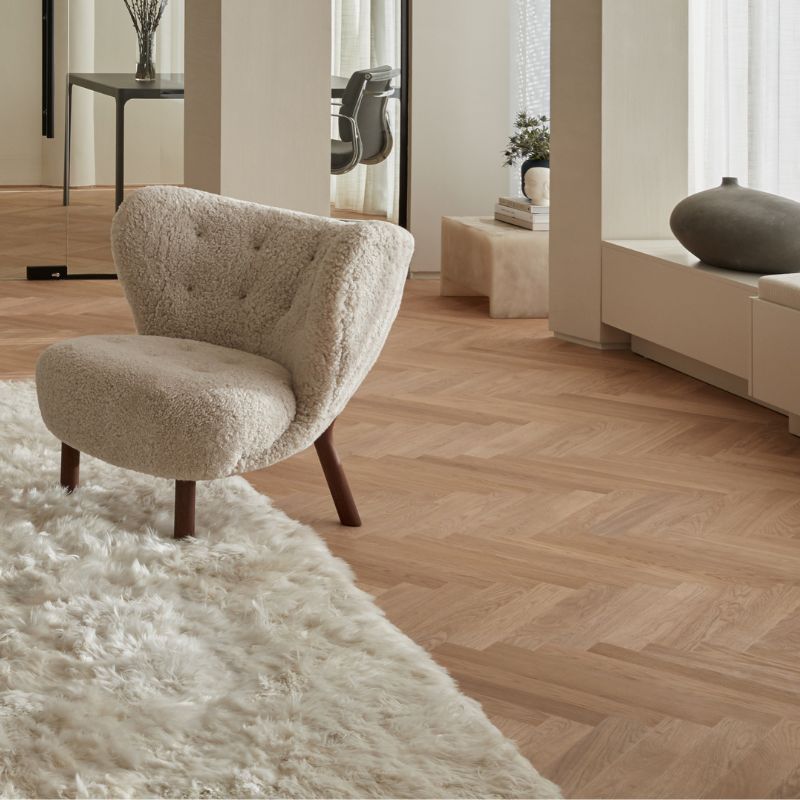
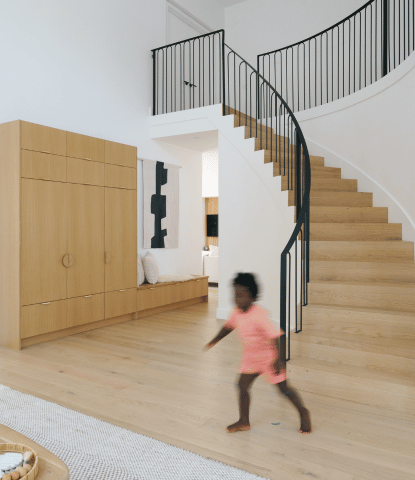
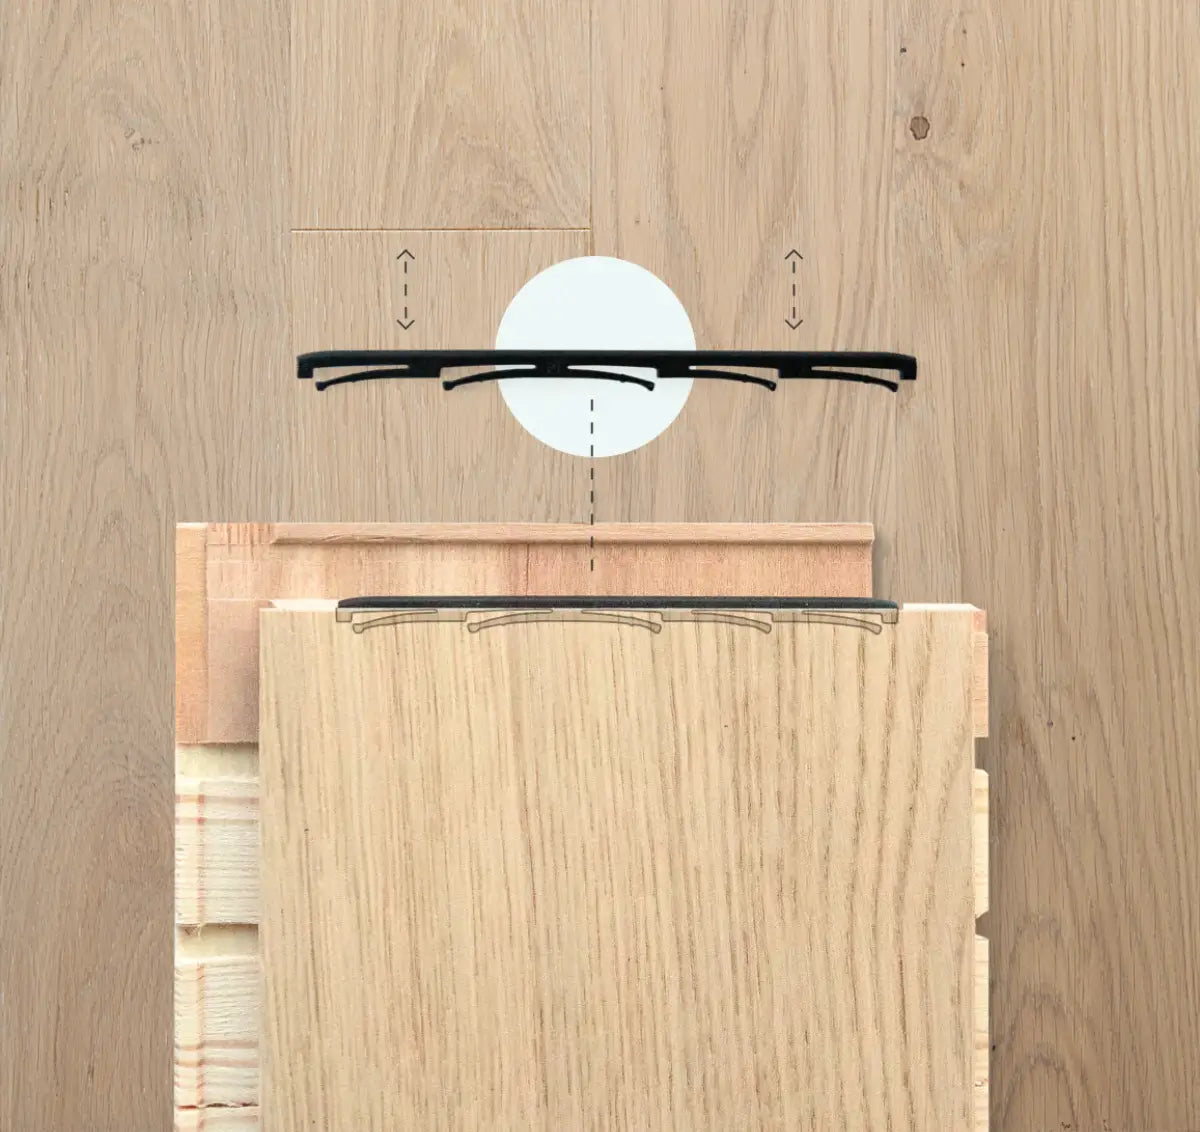
Many of our products - like Tivoli, Little Square, Forest, and more - come with a board-end compression locking pin. In this post, we’ll explain the difference between the compression pin and sliding pin, plus dive into installation tips for compression pins.
Locking Pin Design: Key Differences
-
Sliding Pin Locking System: Features a pin that moves left and right. It can be removed, adjusted, and reinserted. This adjustability makes it versatile for certain installations.

-
Compression Pin Locking System: The pin uses compression to snap into place, moving in and out rather than side to side. When pressed, it compresses and locks firmly in place, offering a secure and reliable end connection.
-
Found on floors like Tivoli, Little Square, Forest, and more.

This design ensures the end joint stays firmly connected without the need for lateral adjustments.
Installing With a Compression Pin
Installing this locking system is straightforward, with a few key points to keep in mind:
-
Prepare the Boards
-
Assume you have an existing room layout with a previously installed board.
-
Position the next board you want to install.
-
Angle of Installation
-
Place the board at a 20–30 degree angle.
-
Slide it forward so it contacts the end of the installed board. Don’t leave any gaps.
-
Snap into Place
-
Once aligned, push the board down gently.
-
You’ll hear it snap as the black locking pin decompresses and then compresses back to lock securely. This locking action ensures a tight, seamless fit.
-
If needed, use our tapping block on the side of the plank to further push the board into place.
Checking the Lock
Once installed, check that the end joint is fully locked:
-
Look for the black pin engaged at the joint.
-
Ensure there are no gaps between boards.
-
Confirm it’s flush and securely locked.
Removing Boards Safely
If you need to take the boards apart, be cautious with the locking system:
Avoid Lifting the End Joint
-
Lifting can damage or break the locking system.
-
While not a huge problem, it’s best to avoid unnecessary damage.
How to Separate Boards Properly
-
Slide the boards apart instead of lifting.
-
Use your hands to slide them if possible.
-
For easier separation, use a tapping block while applying pressure on one board. This helps disengage the locking pin smoothly without stressing the joint.
Install With Ease
Our compression pin locking system offers a simple, secure, and reliable end locking mechanism that makes installation efficient and removal straightforward when done correctly. Compared to our removable sliding pin, the compression pin offers a true in-and-out locking action that clicks confidently into place.
Download Installation Instructions:
*Note: Tongue & Groove floors can be found here.