


July 22, 2022
What “Patina” Means (+ How To See It On Your Stuga Samples)
by Haley Holm-Pedersen
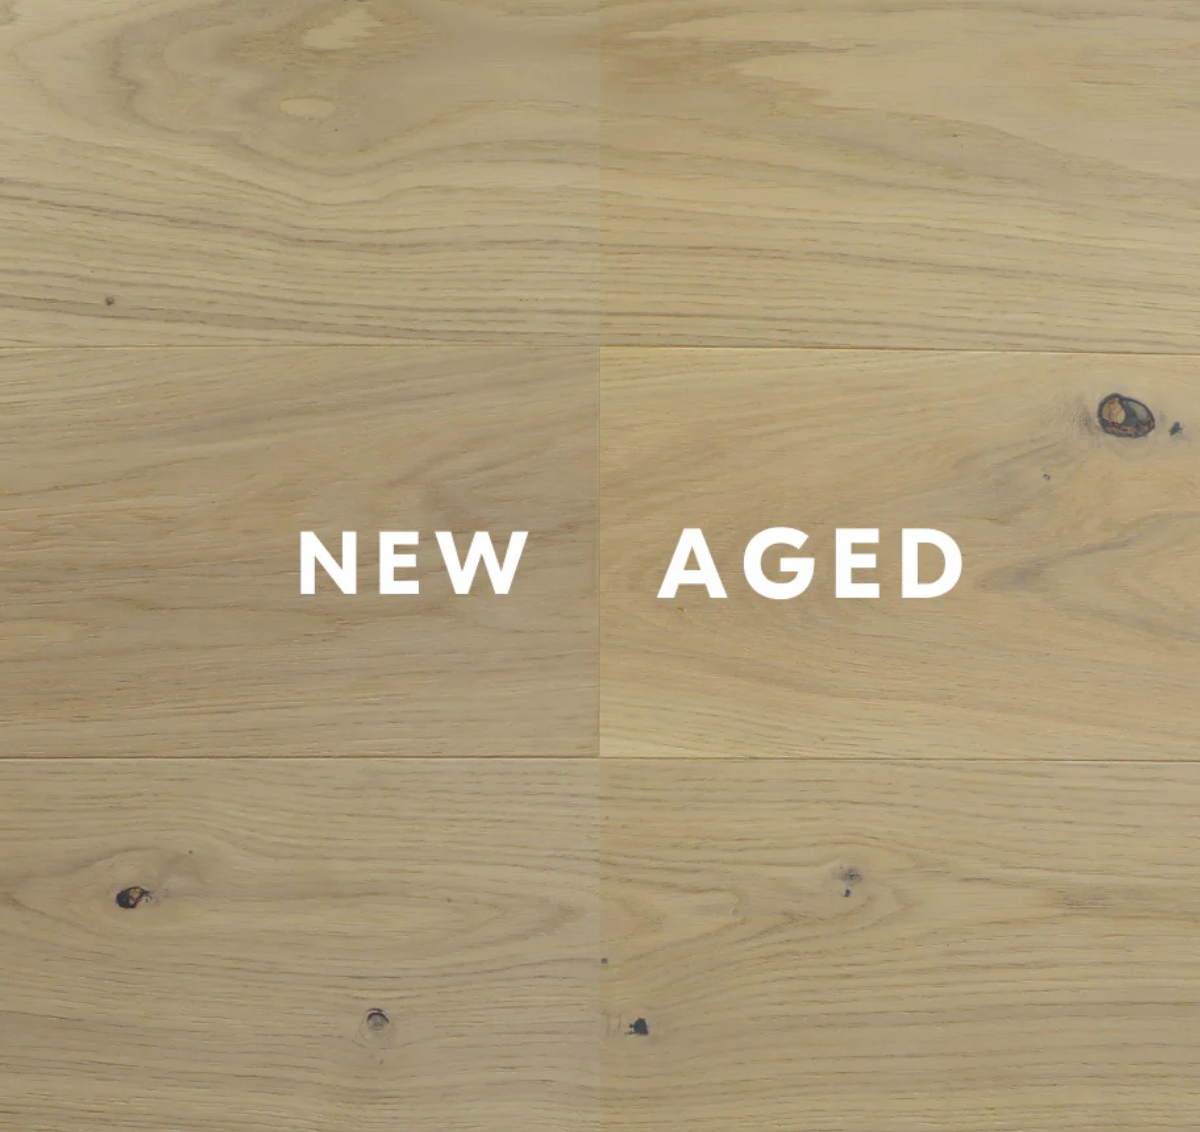
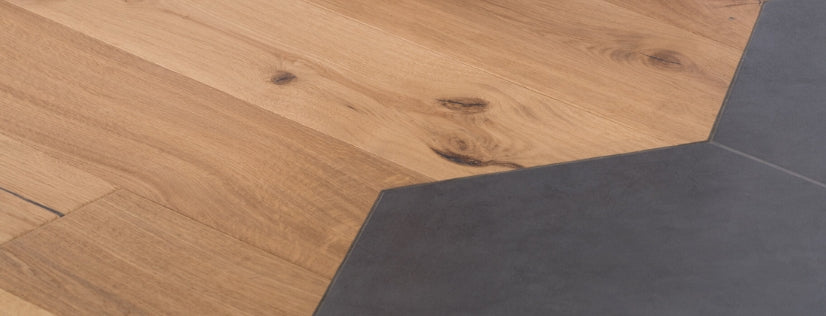
Pictured: A large sample of Greta, where the left side is new and the right side has been left outside in direct sunlight.
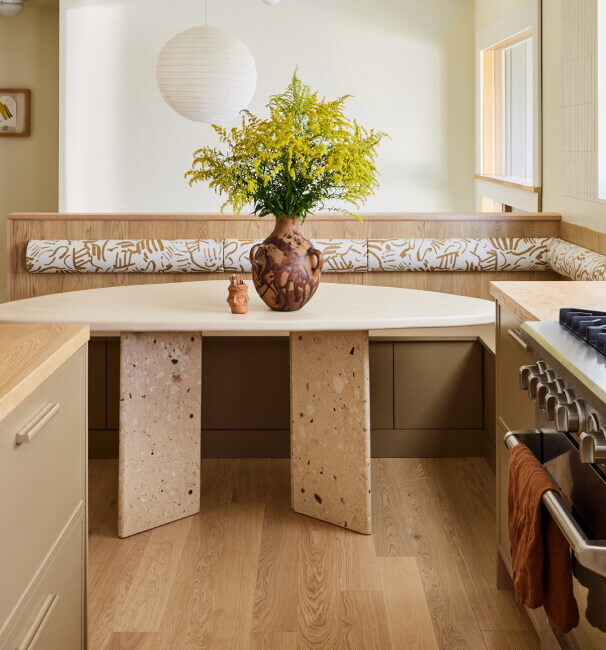
As you and your family age, your Stuga floor will be underfoot, changing in its own ways. We think of it as a wonderful continuation of the story of the trees that made it. It develops hints of life in a way that no other floor — Stuga or not — can. It is uniquely your own, and we think that’s something worth celebrating.
This gradual change is called patina, a process that makes wood flooring even more beautiful over time. So what do we mean by patina, and what does it look like, exactly?
The Meaning of Patina
You may have heard “patina” in reference to things that get better with time. Like the oxidized green of aged copper, the darkened look of vintage brass, or the worn charm of a well-loved leather wallet. Essentially, a patina is a layer on the surface of a material that changes over time with use and exposure to sunlight.

How it Appears on Stuga Floors
Like most natural materials (including wood flooring), our floors develop their own patina with age. They tend to become richer and deeper in color as this process unfolds, revealing a lovely, lived-in look that can’t be replicated.
What you won’t see is the yellowing of the finish that can sometimes develop with items coated with polyurethane-based finishes. Our acrylic finish remains wonderfully clear over time. This doesn't mean that the wood below won't change naturally over time — it will — but without the unsightly addition of a yellowing lacquer.
Our oiled floors generally patinate more deeply and more quickly than those with acrylic finishes.

Shell, one of our oiled floors, develops a richer tone over time.
How to Mimic a Patina on Your Flooring Samples
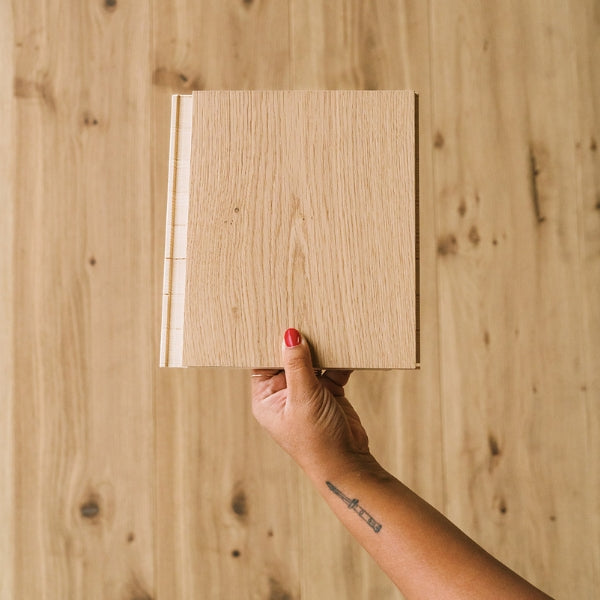
Want to see what your favorite Stuga contender will look like with age? Here’s an easy trick to try. Block off half of your sample with an opaque tape, like duct tape or thick painter’s tape. The more the tape blocks sunlight, the better the effect. Leave it outside in direct sunlight for a few hours, letting the sun work its magic.
Bring your sample back inside and remove the tape to reveal a “new” side. The side that was exposed to the sun will be a good indicator of the color change you can expect to see in that floor. Keep in mind this will occur over a much longer period when the floor is laid in your home.

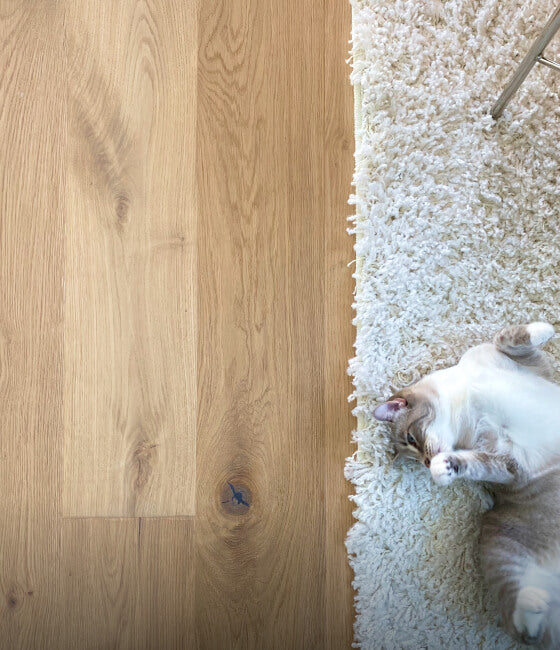
What About Rugs?
It’s true that once you remove a rug from your floors, after a while, you’ll see a difference where the rug once lay. Rugs typically block enough sunlight that the floor beneath remains light while the floor around it patinates. Like a tan line, this naturally balances out over time as the sun reaches the area.