August 17, 2021
Five Hardwood Floor Installation Tips from an Expert
by Mallory Recor
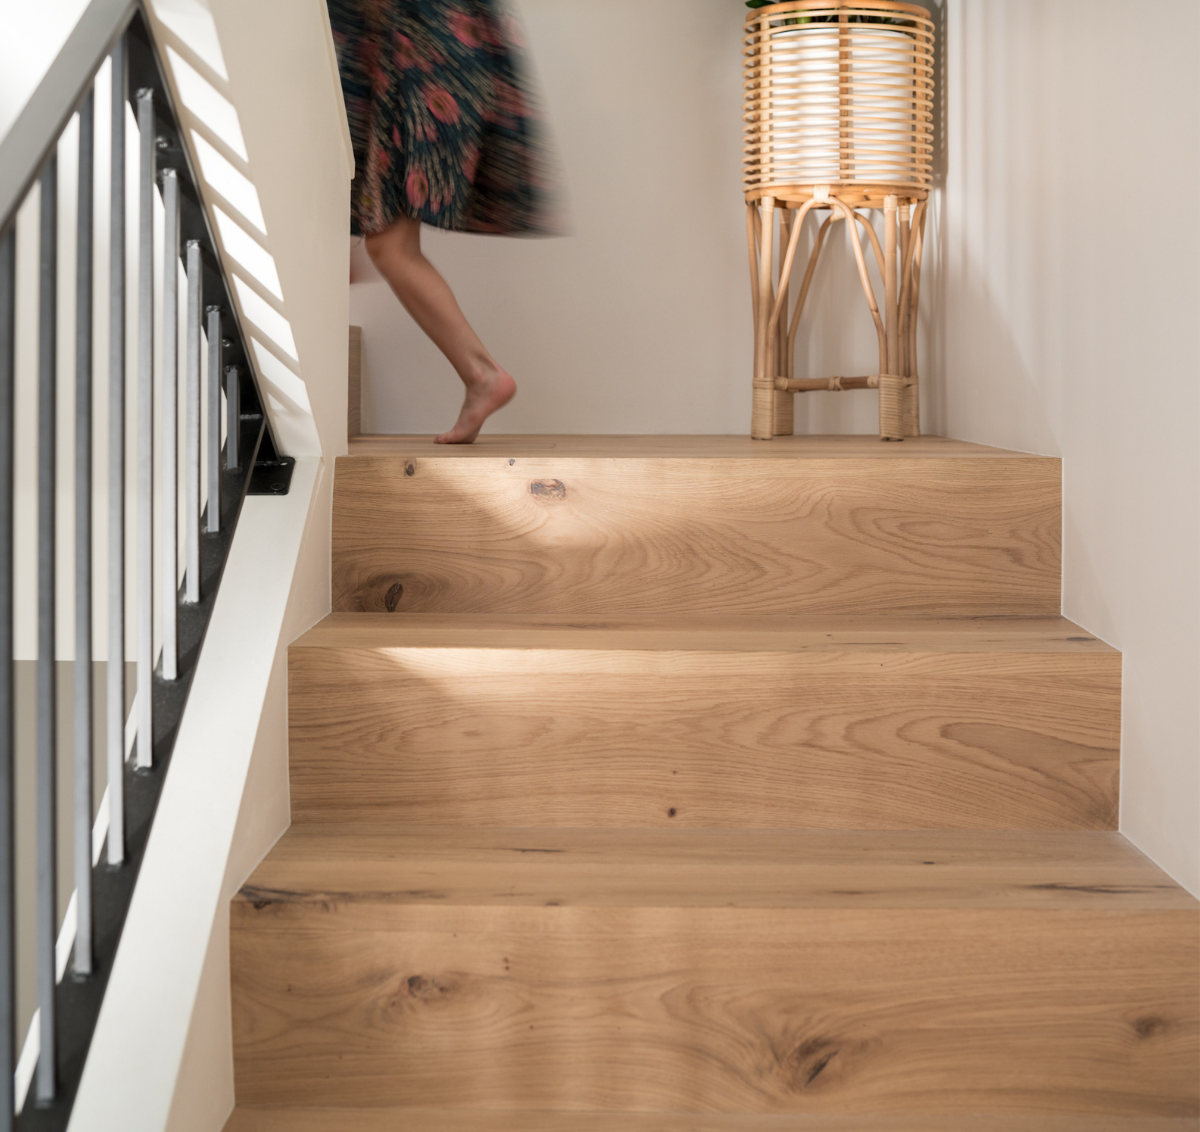
Renovation is complicated, but finding the perfect hardwood floor shouldn’t be. Our range of beautiful floors is small so that we can be experts on everything we sell. After you've picked your dream floors, what is the last step to achieving the perfect #EyeScandi look? Installation. And we've called in that expert for you.
Jesse Lauder, of Focus Hardwood in Colorado, is the man behind some of our favorite floors. His unique collaborative process, along with his 18 years of experience laying wood floors, has made him one of our favorite installers.
“Most of the time when I get a Stuga call they know the product, or they found me through the product, and I think that’s awesome,” says Jesse.“ They know what they’re getting into and they have the values of Stuga behind them.” He believes the process of laying your floors is just as important as the product itself.
Check out his top five installation tips below!

Prep your subfloor.
Before you can lay your floors, you have to make sure your subfloor is ready to go. Jesse recommends removing all nails, screws, and tack strips from previous floors, along with any debris (drywall mud is a big one!) before even thinking about laying your Stuga floors.
“The condition of the subfloor is really an indication of what the hardwoods will be on top of that,” Jesse explains. “A lot of people don’t take the time to prep their subfloors in a way that’s going to be flat, level and sound and squeak free. Then they put hardwood on top of it and expect it to perform at a perfect ability.”
Your subfloor can be anything that is firm, flat, and dry, and as Jesse says, prepped! “When I come into a job where there are issues, I ask about subfloor prep. Most of the time, it’s nothing but swept!”

Use an underlayment.
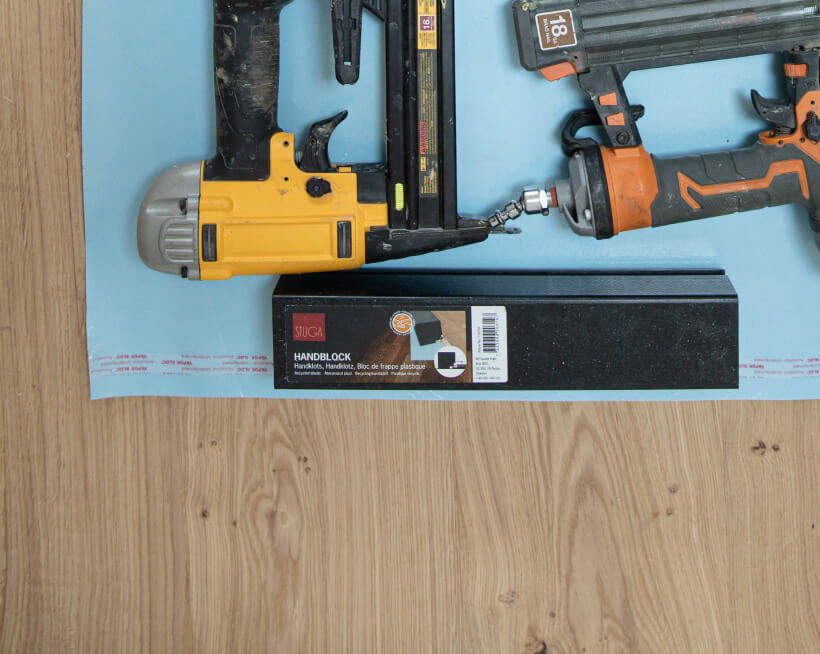
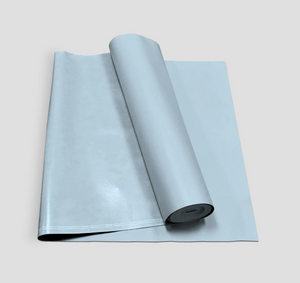
If you are floating or stapling down your floor, underlayment is a must for full warranty protection. Our Nature All-In-One can be used for both staple down and floating methods. If you’re gluing down your floors, be sure to use a glue with a built-in moisture barrier.
Not only does it protect your floors from any moisture from below, it can provide a great sound barrier.
“Talk to anyone putting in a hardwood floor and [sound] has crossed their mind.” says Jesse. "Often, they’re coming from carpet which is soft and quiet and so I think an underlayment is a huge benefit.”
Our Nature All-In-One underlayment has some of the highest acoustic ratings in the industry – that means serious soundproofing.

Read the installation guides.
Most of Stuga’s cleverly designed floors can be floated, stapled, or glued (check the product page to find specifics for your floor). High-quality products are much easier to work with, which means they are incredibly DIY friendly.
“Reading the installation guide is HUGE. People say ‘it’s just a hardwood, I can do it!’”
Jesse explains that there are ins and outs of laying floors, from deciding which way to lay your floors (perpendicular to the floor joists) to how to lay that final board that are all explained in our installation guides.

It’s a construction process.
When asked what he wished more homeowners understood about installing Stuga floors, the resounding answer was that it is still a construction process. Stuga floors are thoughtfully designed and that makes them easy to work with, but that doesn’t mean it will be dust free.
“Even though it is prefinished, you still are going through a construction process,” says Jesse. “People say ‘It’s prefinished! Now I don’t have any dust! I don’t have any debris!’ But demo in any situation is going to be the dustiest portion.”

It’s all about where you start.
The biggest tip Jesse has for DIYers is to know where to start laying your floors.
“
And his best tip for first time DIYers? “Exterior walls are typically the straightest!”
