


February 24, 2022
Questions to Ask a Flooring Installer (+ What to Expect)
by Mallory Recor
You ordered your samples, narrowed it down to your favorites, polled all your friends for their favorites, and finally ordered your floors. Congratulations! Now comes the fun part. At Stuga, we believe every step should be beautiful, and because of that, we are here to uncomplicate the installation process. You can read our marketing director Haley’s DIY experience here, but today we’re going to talk about hiring an installer.
For most of you, this may be the first time you’re having new floors installed. We know the high of selecting the perfect floor and getting it into your home can be easily squashed once you realize the floors actually need to be installed to be enjoyed, but we don’t think that has to be the way. We have fantastic relationships with installers and believe they are true artists. With a little education, you can talk confidently and passionately to your potential installers to get the best fit for you and your home.
Where to start?
The best place to start is actually before you order your floors. You will want to reach out to multiple installers for installation quotes to have a good idea of what the costs will be outside of your flooring purchase. Estimates are free and you should absolutely get as many as you need to feel confident. We recommend talking to at least 2-3 installers. The more installers you speak to, the more you’ll understand the costs that will incur after your floors are delivered.
Stuga has a small but mighty list of Preferred Installers that is a great place to start when you’re looking for professionals in your area, but if we do not have a Preferred Installer in your area yet, there are other resources to check out. The National Wood Flooring Association is a great resource for finding certified flooring professionals local to you. Additionally, you could look for installers that are Bona Certified Craftsman, as these professionals are exceptional. Finally, ask your friends! Do you know someone who just had floors installed? It’s always worth asking around to find fantastic pros, as well as contractors to potentially stay away from.
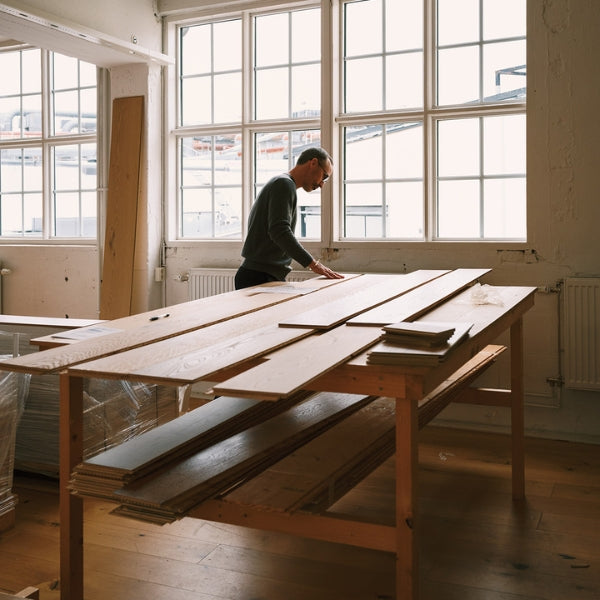
Walk it out.
You’ll want to schedule a walkthrough of your home with any potential installers. This is not only a great way to see if they are a good fit for you personality-wise, but this is a great way to gauge expertise and professionalism. These walkthroughs should be free and this is a great time to talk through some of the trickier parts of your installation. A bonus for trickier spots is that they provide you with a good barometer to see how different installers will handle these situations. Keep in mind that there may be more than one good way to approach it!
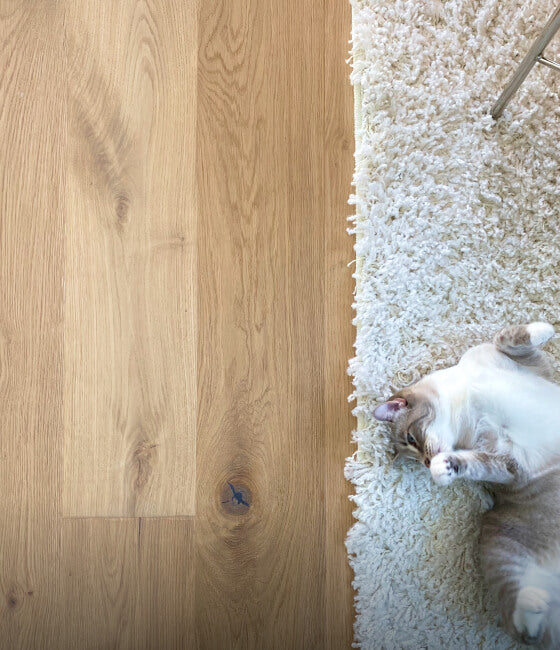
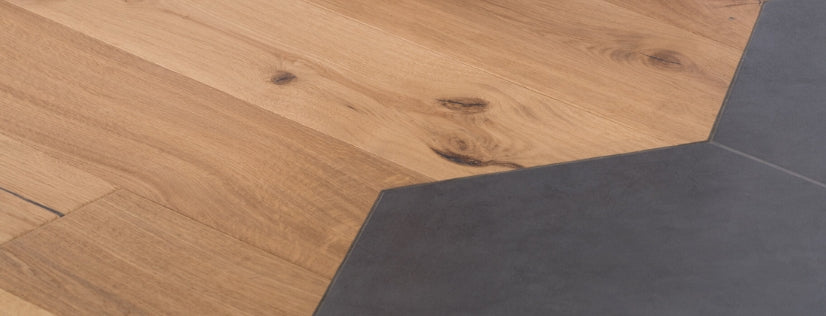
You’ll want to discuss transitions from wood floors to tile or carpet or transitions to exterior doors, where the floor is either higher or lower than the object. We spoke with our Preferred Installer BJ Brown and he gave us some great advice:

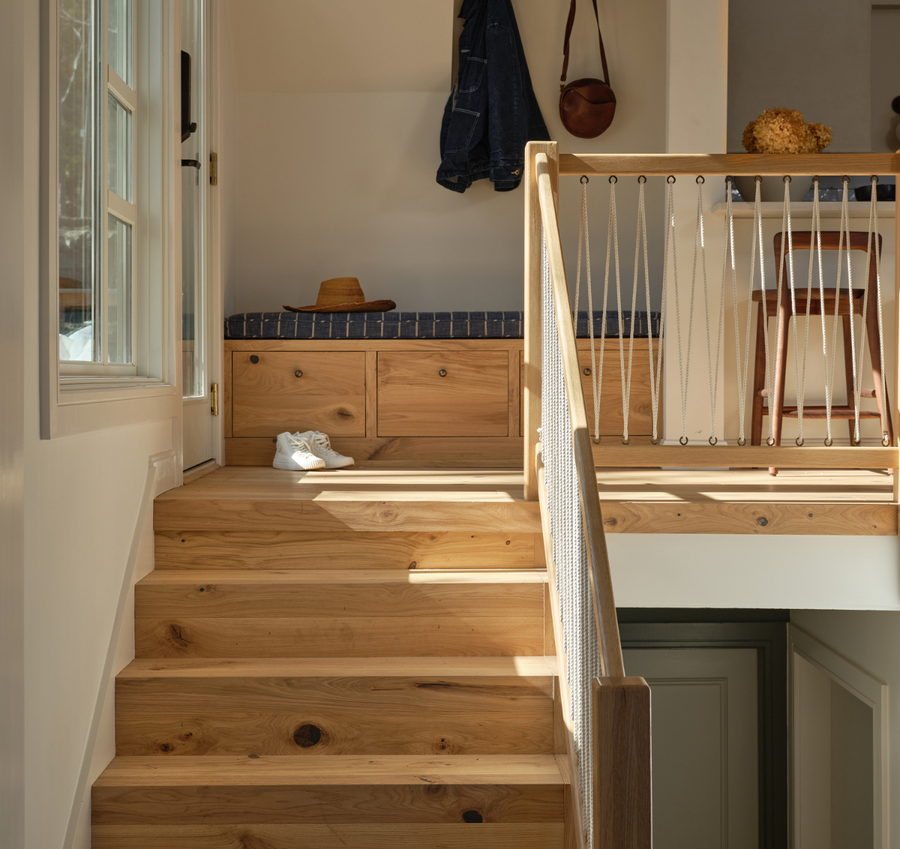
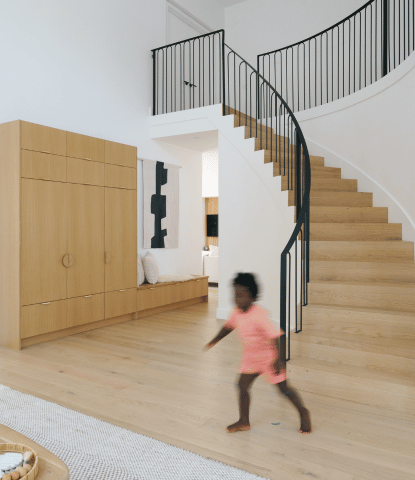
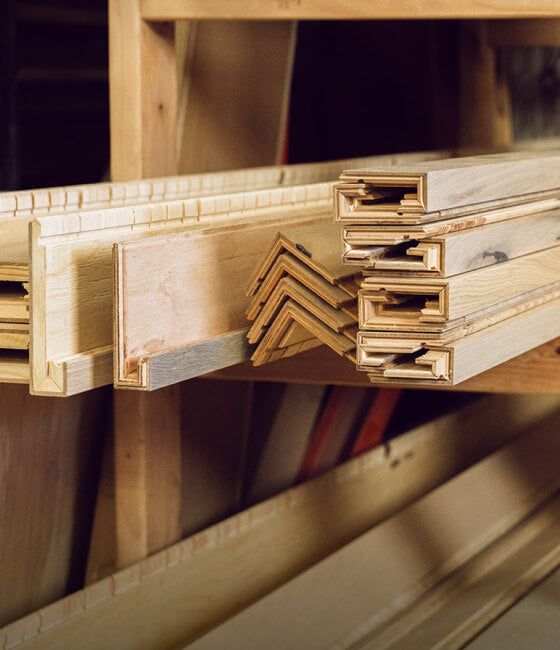
If you have stairs in your home, make sure you discuss the plan for those too! Stuga has fantastic stair nosings that are made to transition seamlessly between floors but talk about how the stairs will be handled and ask about experience. You should always ask for pictures from past work as that can be very helpful.
This walkthrough is a great time to start discussing costs. You can discuss ways to save money, such as doing the demo and/or floor prep yourself. Keep in mind that demoing a floor can range widely, from 25¢ to $2 per square foot, depending on your current flooring material! If you don’t know what is under your current floors, costs may come up unexpectedly as your installer is demoing the floors. You should budget for the worst-case scenario in demo, or take it on yourself to keep surprise costs to a minimum.
Get it line by line.
An itemized estimate is one of the best things you can do for yourself as a customer. If you are not getting an itemized estimate from your installer, this could potentially be a red flag. An itemized budget is your way to see where all of the costs are coming from and why.
When you get a long estimate with lots of line items that each cost something, it can feel like you’re being nickel and dimed, but it is actually the opposite. It can be the indication of a business well run. When an installer takes the time to list out all the necessary details and costs, you can rest assured that they are more than likely thinking of everything and you won’t be surprised when the final bill comes in.
Keep in mind that price ranges may be typical for certain line items. There can be some unpredictable aspects of laying floors. For example, if you have taken on all of the prep work and all the installer is doing is coming in to lay your floors, the chances of extra costs popping up are kept small. However, often it’s unknown what an installer is going to run into with the subfloor after demo. You should always budget for the worst case scenario.

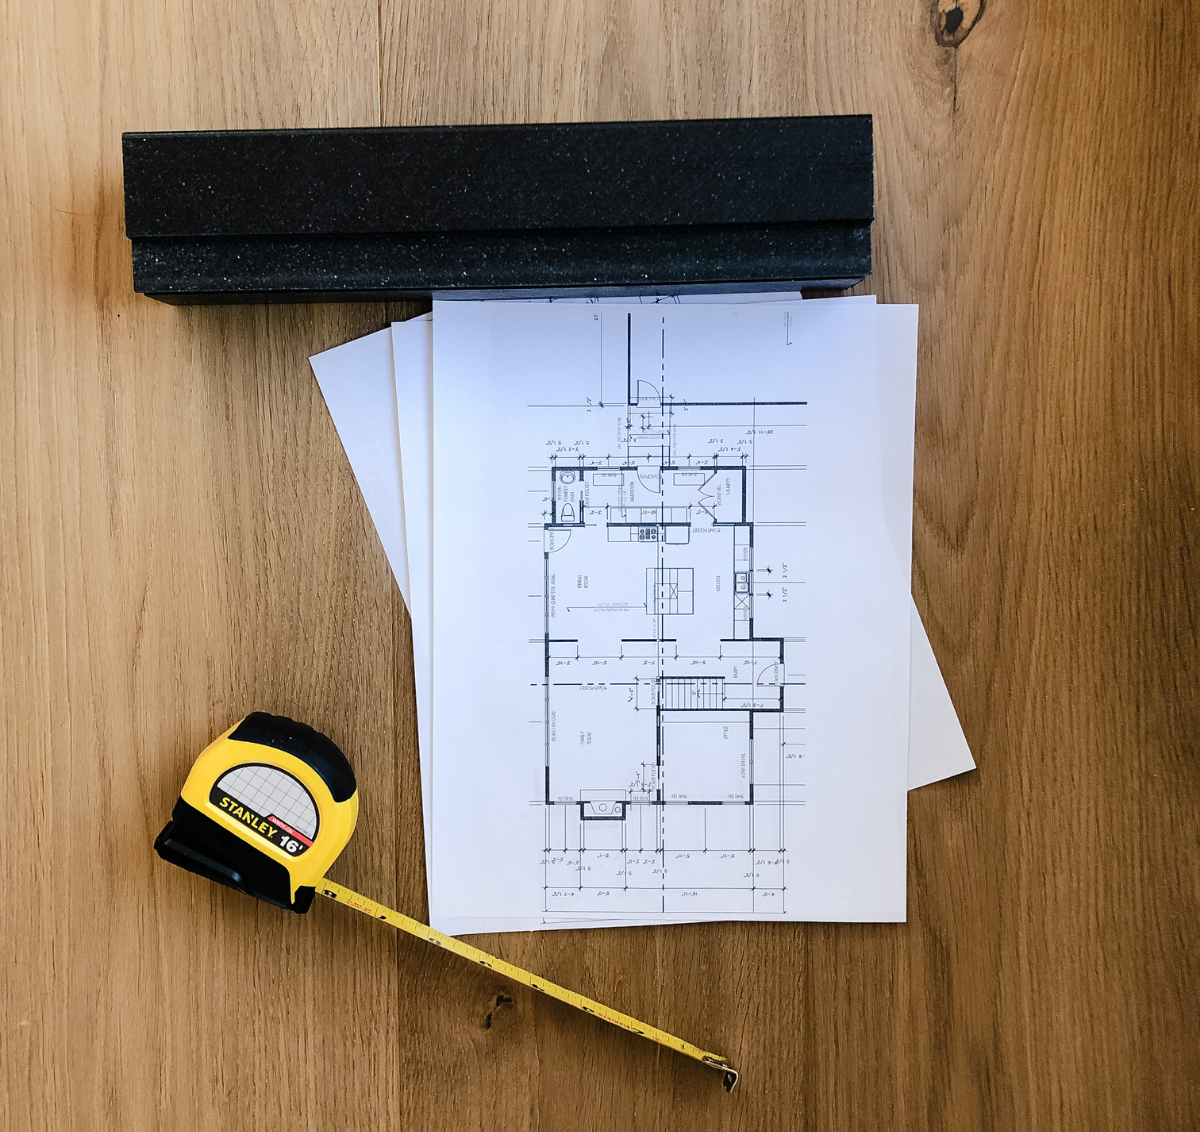
Ask the right questions.
This might be your first time hiring a flooring installer, and we’ve got you covered. We’ve come up with a list of questions you can ask different installers to have a better understanding of their business and methods, as well as whether or not they will work well with you. You can print out this PDF as a guide for your walkthroughs!
What to expect on install day.
After you have found the right installer for your project and are one step closer to your #EyeScandi home, it’s time to get ready for installation day. You will schedule your install to begin on a specific day. Remember that if there is any delay, it can be difficult for your installer to wait on hold for a few days as they may be scheduled with another project. As impatient as you may be to transform your space, we always recommend staying conservative in your timeline instead of overly optimistic regarding scheduling.
Before your installation begins, you may need to make arrangements to get your furniture out of the house. Our preferred installer BJ gave us a great tip to keep costs down at this stage:

You may want to consider a Pod or something similar to store your furniture, and don’t forget to book a hotel for you and any pets during the installation period. As BJ reminded us, an empty house saves you money, and you don’t want to stress about pets getting in the way or getting out during the installation.
The first day of install is going to be prep-heavy. If you’ve agreed to help prep the floors, this should be done before your installers arrive, but if they are handling the prep work, plan on at least a day of pulling up old floors, ensuring the subfloor is firm, flat, and dry, pulling baseboards off the walls, etc. A good installer will spend some time ensuring that the subfloor is in great condition as a floor can only be as good as the subfloor.

Leave time for cleanup.
One of the first things any installer will tell you is that even though this is a prefinished project, there will still be a mess. Dust will get all over the place. Even if they are cutting outside or putting up plastic, dust happens. This is a great reason to get all furniture, art, rugs, etc out of the house before installation occurs.
After the dust clean-up, you may need to consider other clean-up tasks before your house is ready for your sock dance party. Any removed baseboards will need to be reinstalled. You may need to touch up paint. And make sure your installer has a plan for removing any waste and trash from the installation.
At Stuga, we believe that every step should be beautiful, which is why we encourage you to find the right installer for your project. With the right partner for the job, you will have a beautiful new Scandi floor in no time with very little hassle.